We use cookies to improve the services we offer you. By continuing to browse this site, you consent to keep them in accordance with our Privacy Policy.
×We use cookies to improve the services we offer you. By continuing to browse this site, you consent to keep them in accordance with our Privacy Policy.
× 1,991
1,991
 4 min
4 min
Hey there!
We are happy to announce a new upgrade to Movavi Video Editor Business – version 15.4. Our team has added several new features, including new animation templates and special effects with adjustable intensities. Also, starting with this version, you can preview your project in the start window, and multi-clip editing has been significantly enhanced. But we’ll save all that for another article because today we want to introduce you to the main new feature in this release: Unsplash is now incorporated into the program.
So, why is it great?
Unsplash is one of the leading stock photography websites. Their library includes more than 850,000 free high-resolution photos provided by over 110,000 contributing photographers. Forbes cites Unsplash as one of the six leading players in the free stock photography market. And now you don’t even need to leave Movavi Video Editor Business to find the best photos for your project, because the huge Unsplash library is now available directly through one tab in the program. Let’s see how you get there!
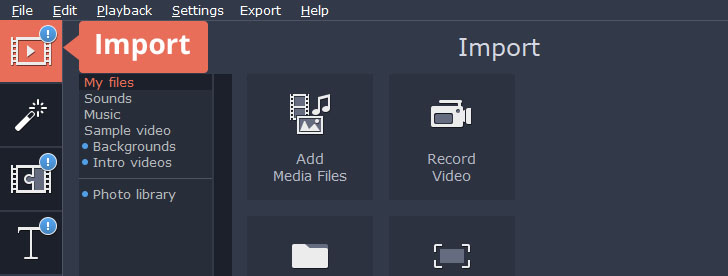
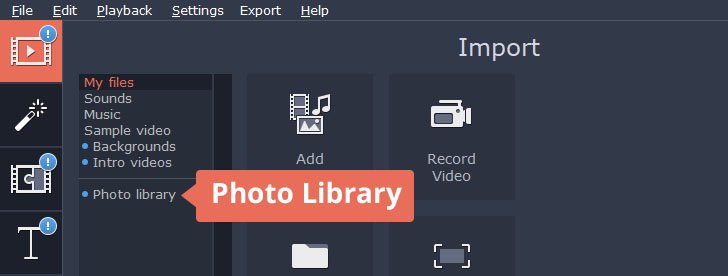
Choose Create a project in full-feature mode. Or, if you’re already working on a project, click the Import tab to see the appropriate menu.
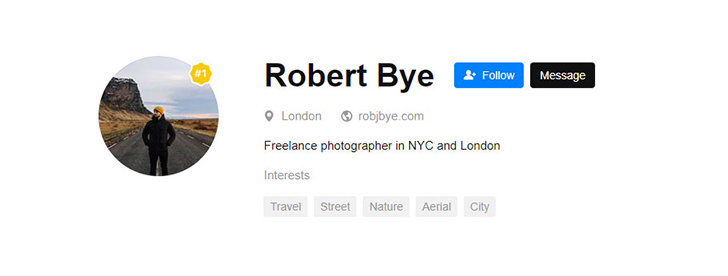
You’ll see random photos from the Unsplash library with their providers’ names underlined. If a picture catches your eye, go ahead and click on the provider’s name – the link will take you to the Unsplash website, where you can learn more about the photographer and go direct to their website or Instagram account.
Think of a keyword that best describes the picture you’re looking for and type it into the Search images field. In my project, I was looking for a photo to add to a video about my latest weekend activities, so I entered “weekend”.
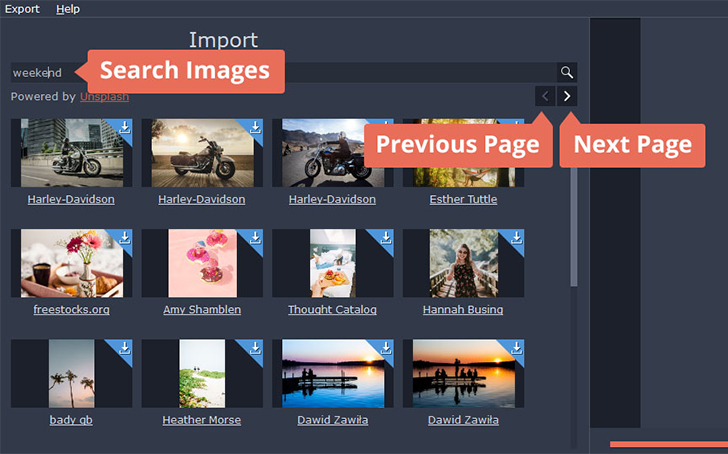
Now you’ll see more specific photos relating to your search. Chances are some of them won’t interest you, but don’t stop on the first page – there are plenty more! Navigate around by hitting the Next page and Previous page buttons. In my case, I wasn’t interested in the Harley-Davidson pictures, but Robert Bye’s photo seemed promising as it showed just the kind of weekend I had with my friends in a local park.
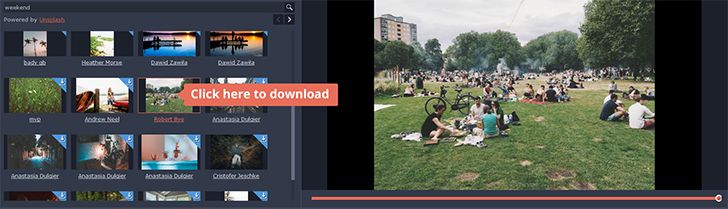
When a photo seems right for you, hover your cursor over it until you see Click here to download appear on the picture. Go on and click! You can download as many pictures as you like. After the download is complete, click on the picture again to see it in the preview window.
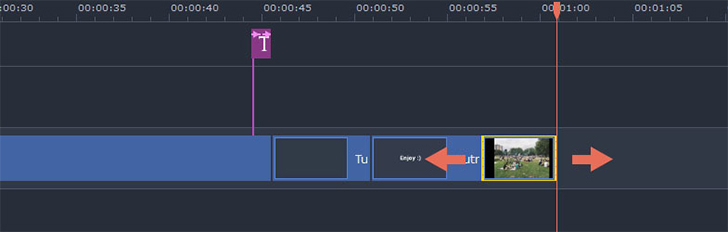
When you’ve made your decision about a picture, move it to the Timeline and adjust the duration by dragging the borders to the left or right.
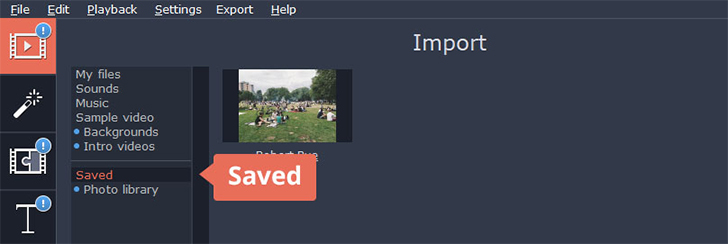
All the pictures you use in your projects are automatically saved in the Saved subtab, so don’t worry about losing them!
We hope you’ve found this helpful! As promised, we will be back soon with more news on other new features in this release.
Stay creative and stay in touch!
Yours as always,
Movavi Team.