


We use cookies to improve the services we offer you. By continuing to browse this site, you consent to keep them in accordance with our Privacy Policy.
×We use cookies to improve the services we offer you. By continuing to browse this site, you consent to keep them in accordance with our Privacy Policy.
×
 1,465
1,465
 3 min
3 min
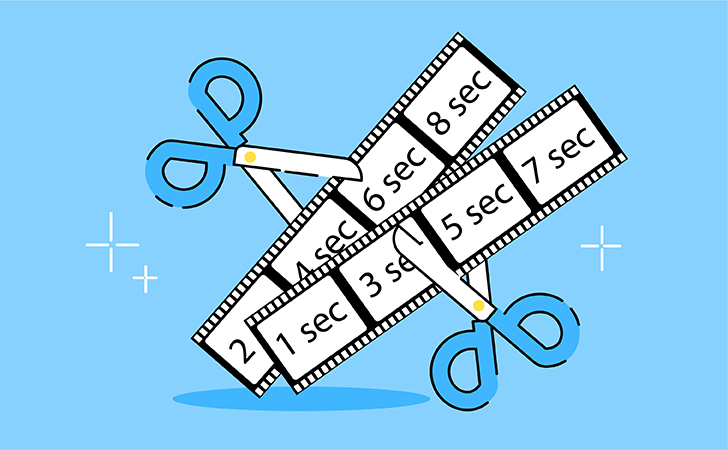
Quite clearly, what we see on screen – in movies, in TV series, in all those YouTube videos – is a compressed form of reality. Just a few minutes or even seconds of a video clip can show centuries passing by. Or, alternatively, stretched-out time using the slo-mo technique, rapid actions invisible to the human eye – like the flight of a bullet or a splash of liquid – can last as long as you want them to. Want to know how to become a true master of time in your videos? Here’s our checklist of tricks you can use to transform the essence of time any way you want!
The most obvious way to change pace in a video is to change the speed. Be careful not to mess up: fast- and slow-motion formats are usually meant to be recorded at specific frame rates, so speed amendments may not always look good in your typical 25 FPS footage. Experimenting with shot speed usually works quite well for GIFs, funny sketches, and other visuals meant for entertainment, as quite often an obvious fast-motion or slow-motion effect increases the inherent humor in a scene.
A classic rule that’s worth remembering: the longer the shot, the slower your video – and vice versa. Rapid transitions make all actions seem much more dynamic. So, while usually you’d define your shot length by the time it requires to complete an action, in this case, you can decide how relaxed (or sometimes even bored!) or how alert and excited you want your viewer to feel.
This trick is a logical consequence of the point described above. If you want to speed up the action, don’t present it in one continuous shot. Instead, use several cutaways. The more close-ups, the better. For example, if you’re showing a barista making coffee, you only need to have them in the shot once or twice. The rest of the actions can be presented in close-ups: a hand holding a cup, the coffee coming out of the machine, a sprinkle of cinnamon on top. An action worth 10 minutes can easily be compressed down to 10 seconds.
A classic cinematographic method of speeding up time, perfect for capturing scenery: sunsets, sunrises, busy city scenes, ocean tides. There is almost no limit to the length of time you can compress in a timelapse, so it’s a great way to create the illusion of much time passing. The only complication with this method is that it cannot be done entirely during the editing – you have to prepare and shoot it this way from the very beginning.
A trick we all know from classic movies, series, and even cartoons. Memories are often presented in black-and-white or sepia tones. Flashes from the future, on the other hand, can look overexposed (or underexposed, particularly if your video is about a coming apocalypse). Assigning specific colors to various parts of the footage will help your viewer easily discern different times.
This one is simple. Combining several shots that show different actions in parallel makes perfect sense when you’re presenting sequences that happen simultaneously (for example, athletes running the same race) or consequently (different stages of creating a piece of art). Just make sure the audience knows why these shots go together: they must be logically linked.
The more details you include of the surroundings, the characters, the scenery – the slower your video will flow. This is another common trick used in many meditation-related videos. An appropriate soundtrack will complete the job.

