We use cookies to improve the services we offer you. By continuing to browse this site, you consent to keep them in accordance with our Privacy Policy.
×We use cookies to improve the services we offer you. By continuing to browse this site, you consent to keep them in accordance with our Privacy Policy.
× 44,951
 4 min
4 min
 1
1

Simple screenshots are no longer enough in 2018. Today, you can capture a tutorial or gameplay directly from the screen of your phone. In this article, you’ll learn how to record screen on iOS with built-in apps.
It has finally happened! After years of waiting, users now have a built-in screen recording tool for iOS devices. If your device runs on iOS 11, you don’t need to connect it to a computer or install additional software to record screen video. Here’s how you can take a video of your iPhone screen with system audio and microphone.
First, add the Screen Recording button to the Control Center. Go to Settings, select Control Center and then Customize controls. Select Screen Recording and click the green plus sign by the button.
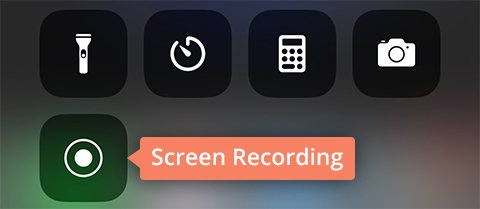
Now you can close Settings and start capturing everything on your screen. To start recording, swipe up from the bottom of your screen and tap the Screen Recordingbutton.
The iPhone screen recorder starts working after a 3-second countdown. The red status bar at the top of the display shows that the recording is in progress.

If you want to comment on something during the recording, turn on the microphone. If you have the 3D Touch function, press hard on the Screen Recording button to turn the microphone mode on. If you don’t have 3D Touch, pressing for a longer time does the same thing.
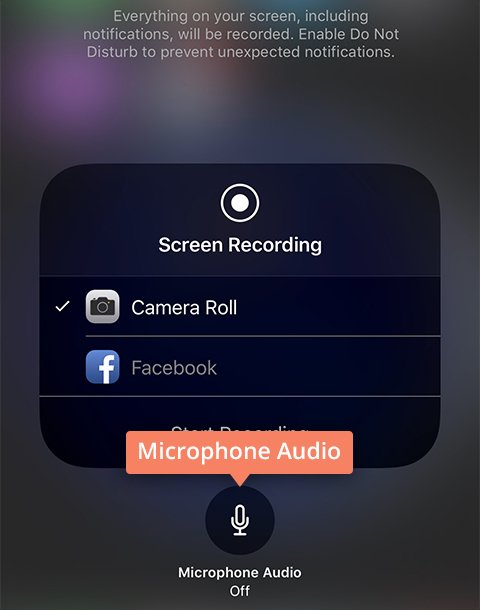
To stop recording, go to the Control Center and tap the Screen Recording button. You can also tap the red line at the top of your screen and select Stop.
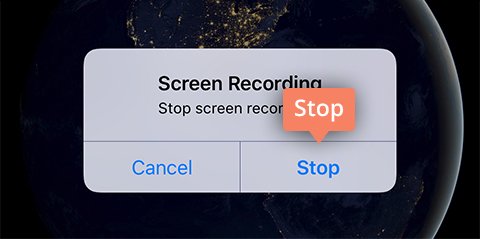
The video will be saved in your iPhone’s Camera Roll.
Checkout 40 Best Photo Editing Apps for iOS and Android in 2023.
There are a lot of older Apple devices that don’t support iOS 11. If you own an iPad or iPod Touch, you can use the QuickTime player, because there is no iPad screen recorder in older iOS versions. QuickTime has lots of functions and can be used as a screen recorder for iOS.
Connect your iPad or another iOS device to your Mac with a USB-to-Lightning cable. Tap Trust This Computer if an alert appears.
Open QuickTime and go to the File menu. Select New Movie Recording.
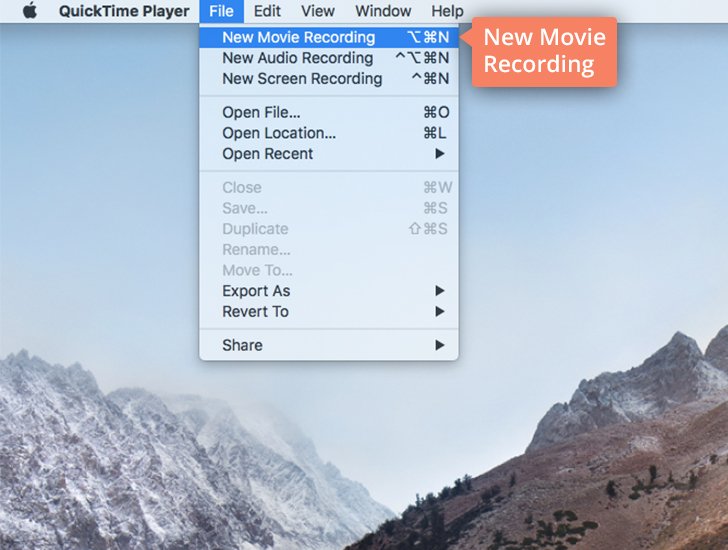
QuickTime will turn the iSight camera on. Ignore this and instead change the recording source near the Record button. The iSight camera will then turn off automatically. Choose your iPad, iPod Touch, or another device from the list.
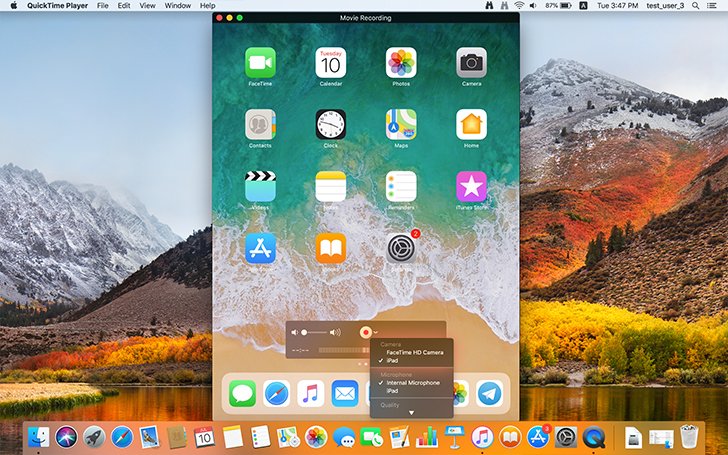
Your device screen appears on your Mac screen. QuickTime player recognizes the orientation of your device (landscape or portrait).
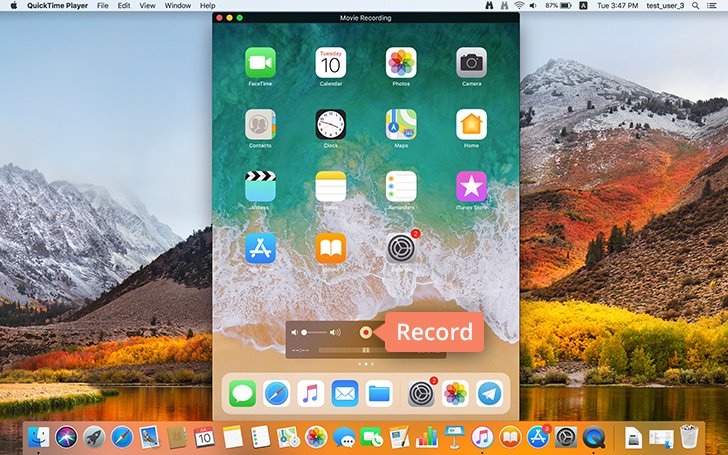
To start recording, click the Record button.
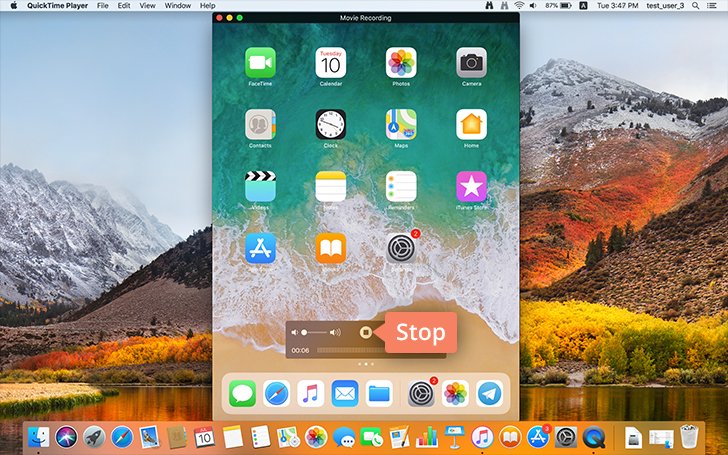
To finish recording, click the Stop button in the QuickTime preview window.
To save the recording, go to the File menu and select Export. If you want to upload your file somewhere, select the Share button.
If you are an iPhone, iPad or iPod Touch owner, there is no need to use a bunch of apps to record your device’s screen anymore. The screen recording tool in iOS 11 makes this process easier than ever. Even if your device does not support iOS 11, there is a way to record its screen with the built-in QuickTime player on your Mac.