Get Movavi Screen Recorder with a 30% discount!
We use cookies to improve the services we offer you. By continuing to browse this site, you consent to keep them in accordance with our Privacy Policy.
×We use cookies to improve the services we offer you. By continuing to browse this site, you consent to keep them in accordance with our Privacy Policy.
× 6,038
6,038
 8 min
8 min

Teaching online is a great way to communicate your knowledge, build your reputation, and even find new business partners and clients. It’s a powerful tool for developing your personal brand and getting people to learn about you.
This path can also open up interesting opportunities. Like any other remote job, it provides you with freedom and flexibility to work from wherever you want and take advantage of creating your own schedule.
The best thing is, you can start your teaching business on just about any topic. Whether you are a math teacher, a home cook, a ballet dancer, a freelance videographer or a great team leader, you have the opportunity to share your experience with others online and perhaps turn into a viable source of income.
Sounds tempting, doesn’t it? So, here’s how to become an online teacher. Let’s get started!

If you’re considering becoming an online teacher, be aware that there are two main options for you:
Most likely, you already have all the equipment needed for online teaching: a reliable computer with a webcam, a headset, a strong internet connection. When it comes to software, you will most likely need to master a learning management system (LMS) or choose an online course platform for creating and sharing your courses.
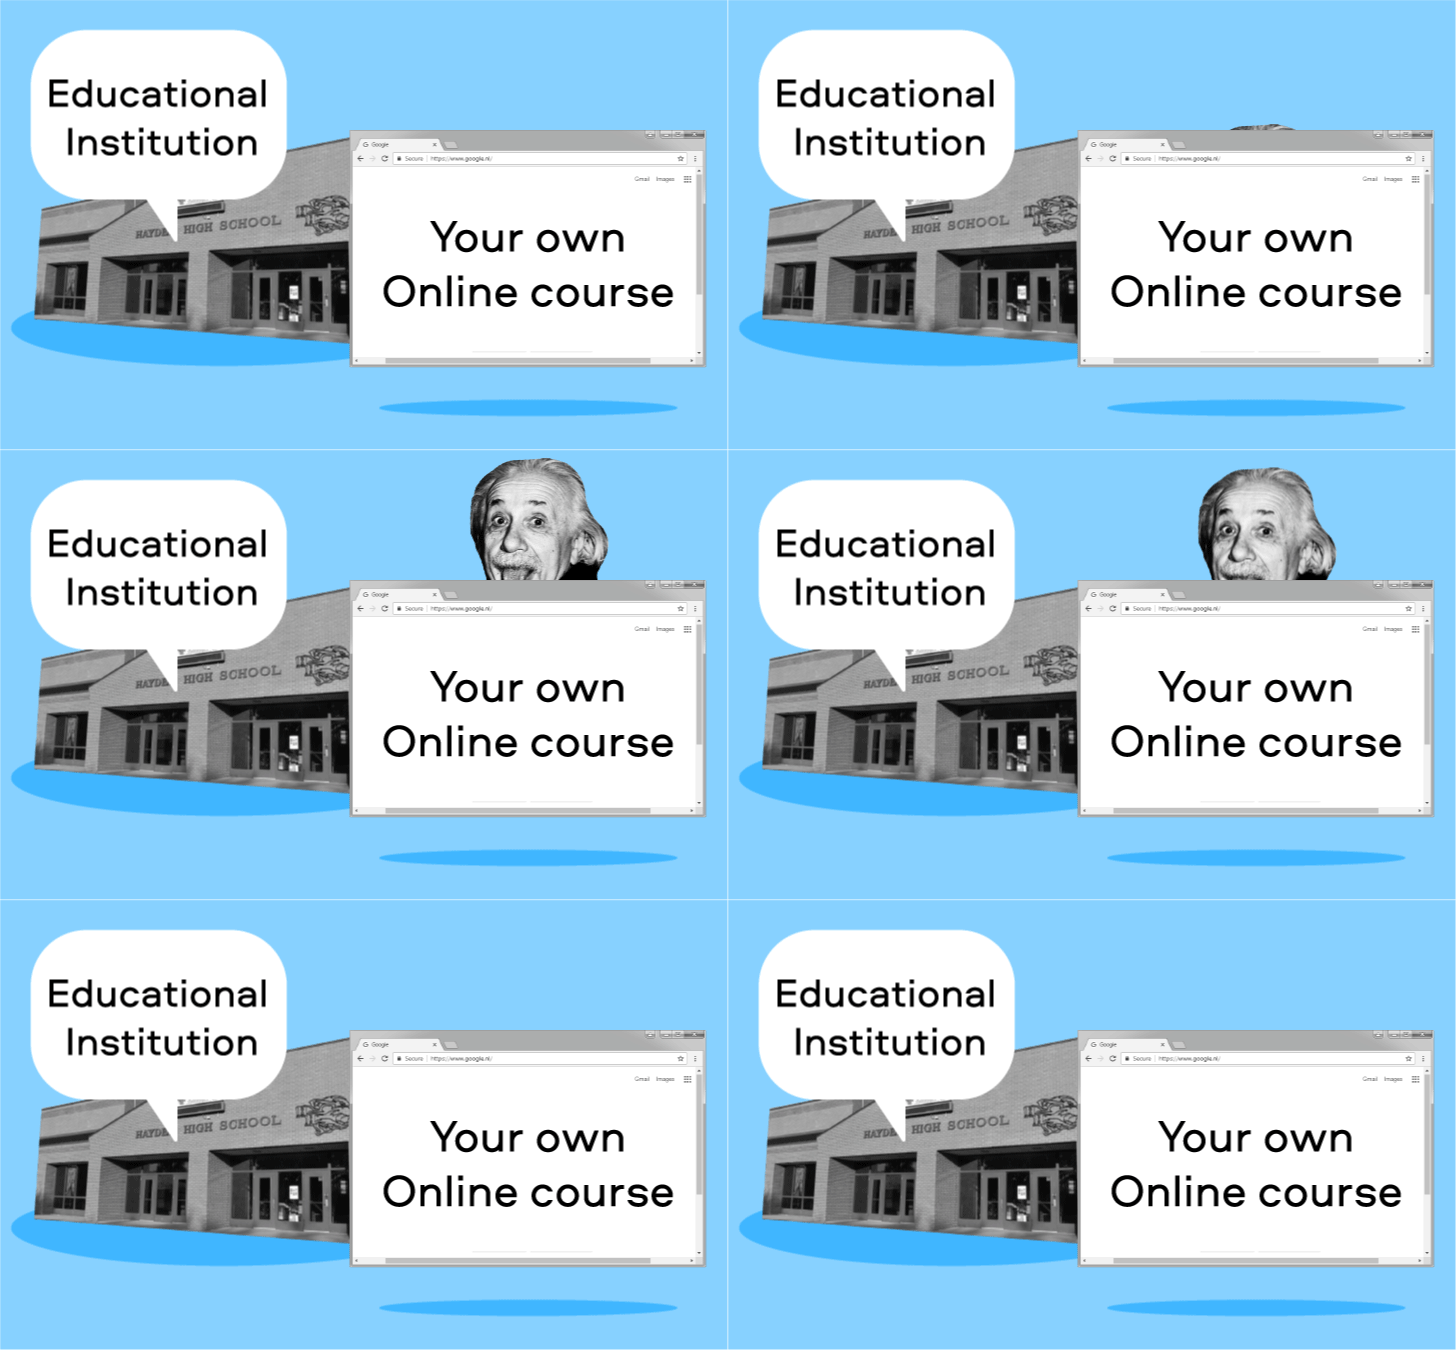
LMSs are mostly used in schools, colleges, universities, educational centers, and other institutions. They provide everything you need for setting up, managing, tracking, and delivering online courses. If you decide to start teaching online for a college or university, their LMS will be your main digital workspace. To get a clear understanding of what these programs look like, visit the Classroom’s website, an LMS from Google.
If you want to become an independent online teacher, you’ll need to choose an eLearning platform that meets your needs best. You may have heard of Udemy, a widely known online teaching platform that offers courses on many different subjects. There are many more options for you out there – take a look at these:
OpenLearning – an easy-to-use platform where you can share your expertise in anything from self-improvement and working as a tour guide to biology and quantum physics.
Teachable – here you can create courses and teaching materials using different media. The platform lets you fully customize and brand your classes. Also, Teachable provides you with useful analytics to help you improve your course.
FreshLearn – With FreshLearn, educators can effortlessly design and share engaging courses across various subjects. The platform allows for seamless customization and branding, empowering instructors to tailor their content to their audience’s needs. Moreover, FreshLearn offers insightful analytics, enabling educators to track progress and enhance their teaching methods effectively.
LearnWorlds – another good platform with everything you might need to create engaging online courses. Aside from the basics, LearnWorlds gives you the opportunity to create a networking environment for students. It also offers useful functions like gamification and interactive video tools. You see, gamification is one aspect that you need to never overlook because it can help you a lot to achieve really impressive course completion rates and drive results to your students.
It’s worth mentioning that there are lots of platforms dedicated to teaching English, such as Promova, Engoo or Amazing Talker. A full list of Online Course Platforms can be found here.
To keep your students engaged and motivated, consider using various online tools, such as video conferencing platforms, interactive whiteboards, and language learning apps like the Ling app. No matter which platform you choose, at some point you’ll need to enhance your content with video to make your course better, more engaging and interactive for your students. That’s where Movavi software will come in handy! Use our Video Editor Online to quickly edit an educational video. Especially for those who are teaching online, we’ve created a template to make things even easier for you:
If you’re teaching digital design or video editing, you might need specific software to capture your screen: it’s often much easier to show than use words to explain how different programs work. For these purposes, try our Screen Recorder, which makes creating video instructions and tutorials super easy.
Take advantage of our special 30% blog reader discount! Use the promocode BLOG while completing your purchase or simply click on one of the buttons below:
Your teaching online strategy really depends on what and how you’re teaching. Dealing with an LMS and virtual classrooms and creating unique courses on a specialized platform are two totally different things. But there are some common tips on how to teach online that will make your work more effective in either situation.
You always want to make sure that the content you’re teaching is relevant to your students’ needs. Create a detailed summary of what is going to be in your course, what topics you are covering, what skills your students will acquire, and what they will be able to do as a result. The description of your classes is also something you should really work on – even if you’re not promoting your course, a clear and comprehensive description will attract the right students interested in your course.
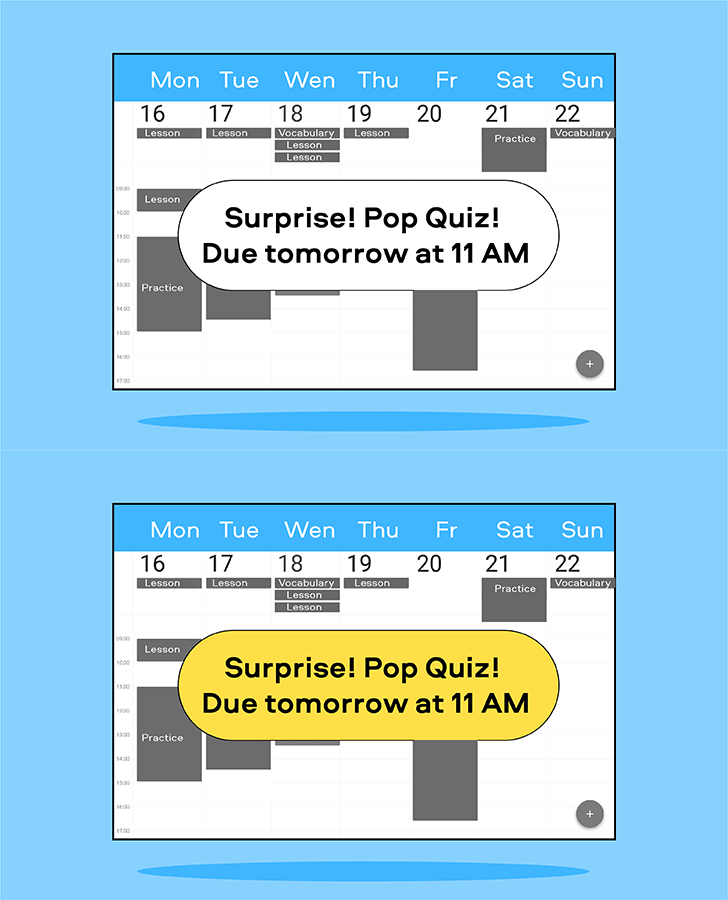
And make that plan clear to your students. Be sure to have the syllabus and all the materials ready before the course starts. Give your students as much information as possible regarding deadlines, requirements and tests way ahead of the first class. Forget about “pop quizzes” and other unexpected tests in online education! Remember, getting one of those in a physical class is completely different from receiving the message “Surprise! Pop Quiz! Due tomorrow at 11 AM”.

Imagine you’ve just spent almost half an hour looking for the reading list for a course, and when you download it, you find the file can’t be opened on your laptop. Would you be as engaged and motivated as 30 minutes ago? Would you still have the enthusiasm to actually go through the list? We doubt it. Always make sure that all the materials students will need for your classes are easily accessible and are provided in common formats.
Take advantage of our special Blog Reader discount to get 10% off Movavi Video Suite
It’s natural that in online classes there are fewer opportunities for non-verbal communication than in a physical classroom. This means that you need to put more effort into making your course interactive and engaging. Be friendly, encourage discussions, make sure everyone can (and is encouraged to!) ask questions by email or via the networking platform if anything’s unclear. Find a way to provide students with interesting content and interactive tasks like games and cool quizzes.

Make sure there’s a place where you can communicate with students between the lessons. Try using the networking tool provided by your eLearning platform or even a simple WhatsApp chat. Invite students for discussions on a regular basis, post interesting information, and share new data there.
To work productively with students, you should ensure that you yourself feel comfortable. If you’ve never worked remotely before via ethernet cable or WiFi connection, you’ll probably have to set up a working space. You want this space to be friendly and inviting, but at the same time kind of bland. Make sure there’s a lot of natural light, and your chair and table are ergonomic and comfortable. To find more tips on working remotely and setting up your workspace, read our recent article on working productively from home.