We use cookies to improve the services we offer you. By continuing to browse this site, you consent to keep them in accordance with our Privacy Policy.
×We use cookies to improve the services we offer you. By continuing to browse this site, you consent to keep them in accordance with our Privacy Policy.
× 6,522
6,522
 6 min
6 min
 1
1

The current state of affairs doesn’t look very promising, does it? Quite a lot of people have had to cancel our travel plans for this season for obvious reasons. While there’s no way to fill up our social network pages with a new portion of holiday pictures, it’s just the right time to dig into archives.
How often do you look back on the pictures you took on your past vacations? The good old times of printed photo albums have passed, so most of our shots end up lost somewhere deep inside our gadgets’ memory. Which is a shame, isn’t it? So why not pull your photo folders out and make them work? Try putting them together into slideshows which will make you smile and reminisce all those good times you’ve had.
A slideshow is basically a video made from a sequence of photographs following one another. Consider it a digital analog of a classic photo album – the difference is that it doesn’t take any space. Besides, you can easily share it with your friends and family.
How to Make a Travel Slideshow
Step 1: Sort Them Out
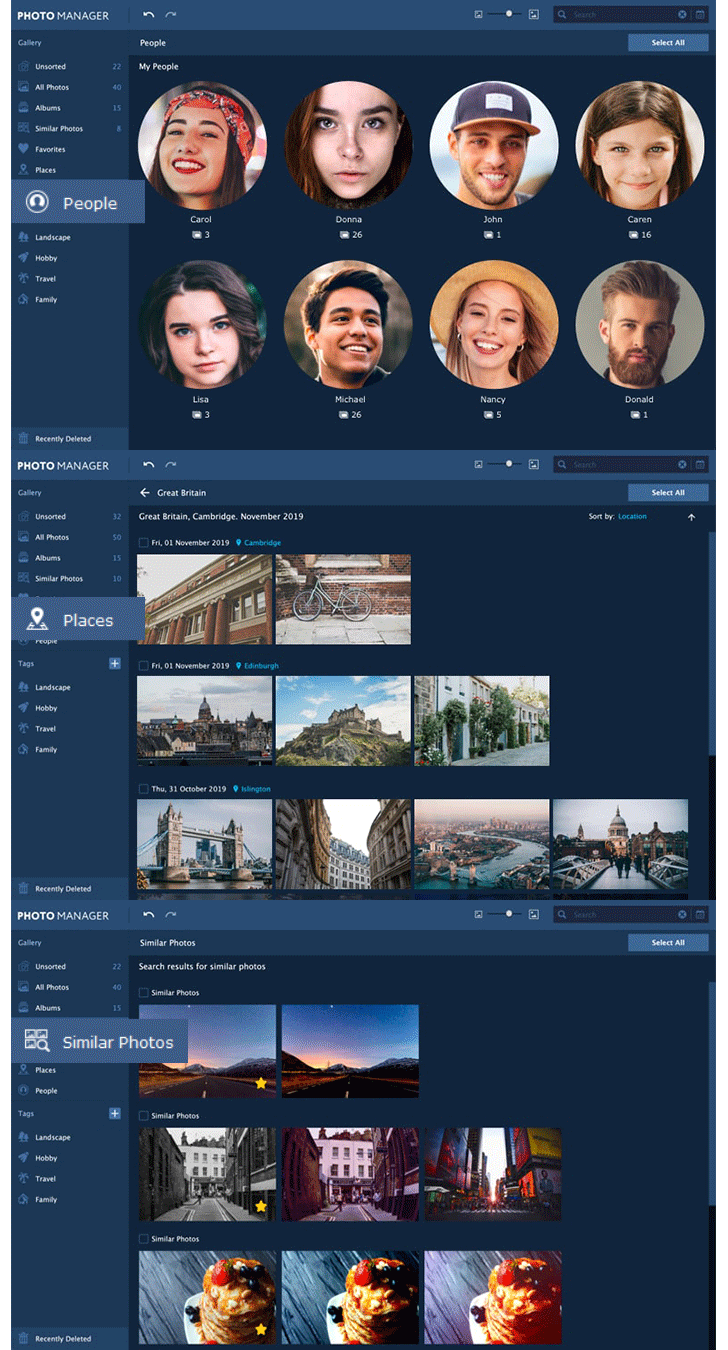
Raise your hand if you’ve ever run out of storage space on your phone while travelling! Naturally, we tend to take thousands of pictures when we’re experiencing something exciting. To get through this clutter later on, try using software that helps you sort your pictures and identify similar shots (our Movavi Photo Manager will do the job just fine). Once you’re done with the preliminary filtering, you’ll have to sort the rest by yourself. Choose the best shots that you’d want to preserve for years to come. Stick to those of better quality as they’ll look nicer on bigger screens.

Step 2. Fix the Faults
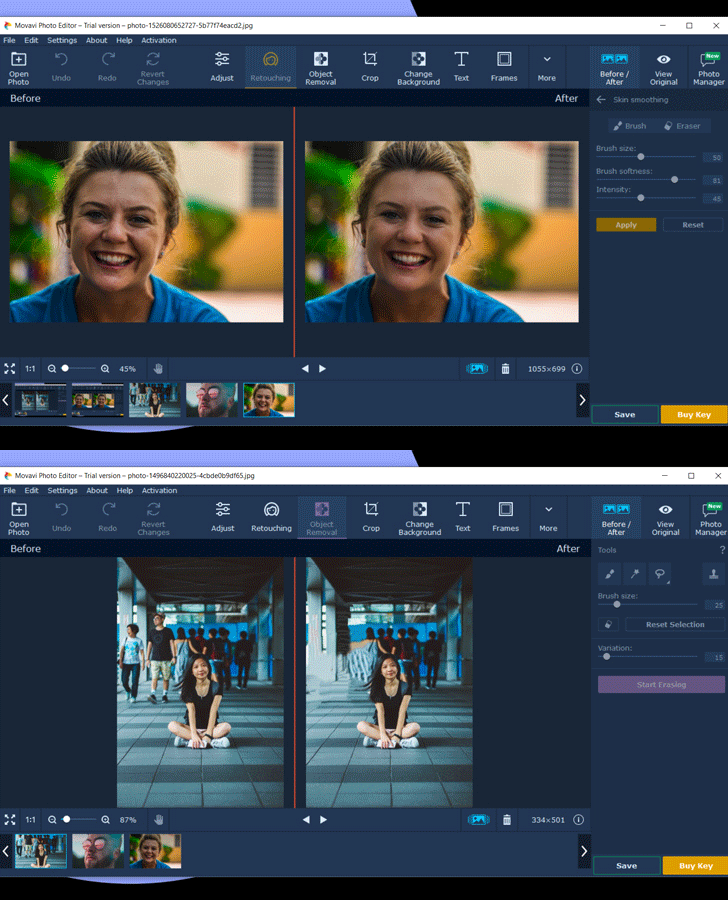
Review your pictures and check if they need any editing. Some may have turned out a little too dark, others might use a little more saturation and contrast. Don’t forget to double-check your portrait photos: adventurous vacations often result in lack of sufficient sleep hours, so you might want to retouch those dark circles under your eyes! Some photo editors also allow you to remove unwanted objects from the background or change it completely, add text and colorize your shots with creative filters.

Step 3. Choose Your Slideshow Software
Once you’ve prepared your photos, it’s time to put them together. There are many programs you can use for creating a slideshow in no time. Pick something easy to use (you’ve already spent enough time sorting out your load, haven’t you?) with a few extra options to personalize your slides even more. Quite predictably, we’d suggest using Movavi Slideshow Video Maker, as it offers 150+ filters, 100+ transitions and a few dozens of titles to choose from. Check out our tutorial on using Movavi Slideshow Video Maker on Movavi Vlog Channel:
Step 4. Think It Through
Try to compose your slideshow in a way that it actually tells a story. If it’s a family vacation, include more pictures with you all having fun together rather than piling up a series of scenery. If it’s a round-the-world trip, you’d want to put in more photographs with signature spots that help other people identify the countries you’ve been to. Don’t forget to add titles where it’s necessary to explain what’s going on or where the picture is taken.
Step 5. Pick your music
Background music is essential for conveying the atmosphere of your trip, so choose your soundtracks wisely. If you’re not planning to share your slideshow on your social network accounts, you’re free to choose any song regardless of potential copyright issues. In this case, you might want to use some hits that specifically remind you of your vacation.
However, uploading it on YouTube, Instagram or Facebook may result in losing the sound or having your video completely blocked. To skip the hassle, look for royalty-free tracks on designated resources.
There are many portals and web-libraries out there where you can find a large variety of royalty-free tracks. Some demand a fixed fee for unlimited access, others only require you to make a reference. Here are a few options that we can recommend:
Audio Library – Music for content creators
A catalog of copyright-free music with its own YouTube channel. All the rules applying to the tracks are listed in the “About” section.
YouTube offers its own storage of songs and sound effects that you can download and insert into your slideshow. Be sure to check the license type and include an attribution where necessary.
A simple music library which requires neither any payment nor signing up. Any track can be downloaded in just a few clicks. Commercial licenses are available for purchase.
One of the most well-known royalty-free music archives. Although it does charge for the access, licensing starts at just $0.99 per track, and a full personal subscription costs $15 a year. A free trial is available.
Royalty Free Music – No Copyright Music
Another YouTube channel with plenty of links to copyright free music listed on different resources. Always check the attribution rules for each track before using it!