We use cookies to improve the services we offer you. By continuing to browse this site, you consent to keep them in accordance with our Privacy Policy.
×We use cookies to improve the services we offer you. By continuing to browse this site, you consent to keep them in accordance with our Privacy Policy.
× 2,911
2,911
 7 min
7 min

In our previous article about hyperlapse, we talked about the differences between hyperlapse and timelapse and learned how to make a hyperlapse video with a phone and then stabilize it in Movavi Video Editor. Still, there are countless ways to shoot hyperlapse footage, and the more exciting the hyperlapse, the more meticulous work it demands. To make an original hyperlapse video, you will need lots of patience, a steady hand and… some school math. There’s a wide range of creative experiments between a simple hyperlapse video shot on a phone and a film such as Guy Roland’s “Pacer.” But don’t worry: just remind yourself that Guy Roland shot his hyperlapse movie on 16-mm film, and all the “effects” were created in the camera!
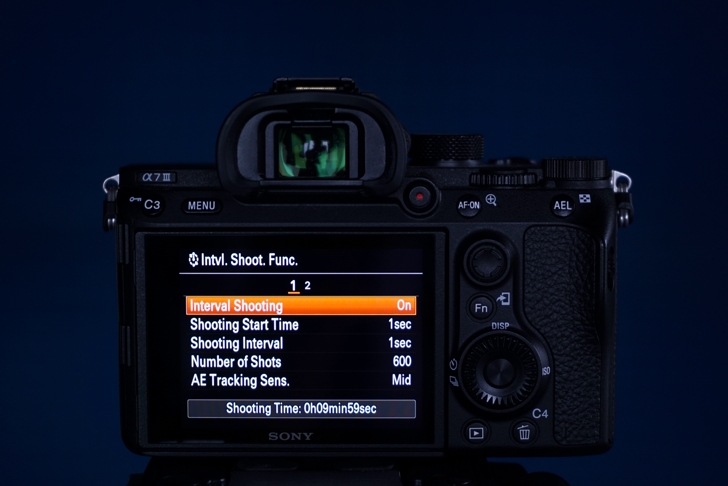
Many cameras have Timelapse Mode that allows you to set a shooting interval and an image count. If your camera does not have this capability, you can count the shooting interval in your head. As for the image count, it is only needed for calculating the final length of the video.

You can shoot hyperlapse handheld, but it will be a struggle to achieve smooth camera motion in the final video. A monopod is easier to use than a tripod on uneven surfaces. Hyperlapse is often shot with long shutter speeds, and racks will help to keep your image sharp, plus they’re generally cheaper than steadicams. On the other hand, a steadicam will provide more mobility on the vertical axis.
Enjoy our special discount for all blog readers!
Promocode: SUPERBLOG
Download Movavi Video Editor Plus with 10% discount for Windows
Download Movavi Video Editor Plus with 10% discount for Mac
You can use practically any lens you want, but a lens with a focal length of 25–30 mm will allow you to get a good-quality wide-angle view.
A signature of many time- and hyperlapse videos is the blurred motion of people, cars, or other objects in the frame. If you want to reproduce this effect, set the shutter speed to 1 second or longer. For daytime shoots with this length of exposure, you’ll need an ND filter and a rack. An ND filter is like sunglasses for a camera – a long exposure means a lot of light, so this filter is crucial in this instance. And a rack will help to keep the camera stable for the duration of the exposure so the stationary objects in your picture stay sharp.
Use manual exposure and focus. Light and perspective change as you move the camera, and in the automatic mode, your camera will try to adjust itself to every little change, resulting in a flicker effect in the final video. Considering that with hyperlapse video, we are talking about hundreds, if not thousands, of photos, correcting this effect in a photo editor would take a huge amount of time.
Make sure you shoot in high resolution (at least 1920 × 1080) to be able to enlarge your photos and add zoom-in and zoom-out effects to your video.
Time- and hyperlapses are usually created around panoramic views that demand a large number of objects in focus. That is why they are often shot with a long depth of field, achieved by closing the aperture as much as possible.
In the end, it is up to you. But keep in mind that the number of photos will be such that if you shoot in RAW, you’ll need to figure out in advance a way to store them. We doubt that you want to go around with a pocketful of SD-cards. Also, to edit such large files, you’ll need a fast computer. On the other hand, RAW is undoubtedly a more flexible format, which can be useful if you plan to edit your photos substantially.
You may want to calculate the duration of your hyperlapse video in advance and set a precise frame rate.
[FPS of the final video] × [hyperlapse duration in seconds] = [number of photos]
For example, for a 3-second video at 25 FPS, you’ll need 75 photos. Now you see what we meant by patience!
When shooting on a phone, it is sufficient to use an object as a reference. If you shoot on a DSLR camera, it is preferable to find a reference point on the object to refine the movement even further. If your camera is in manual focus mode, you should see a small rectangle on the viewfinder. You can use this rectangle to maintain the reference point and align your camera between shots.
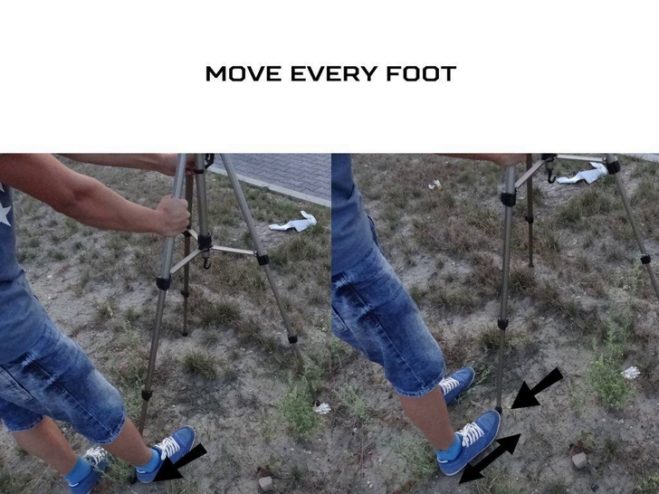
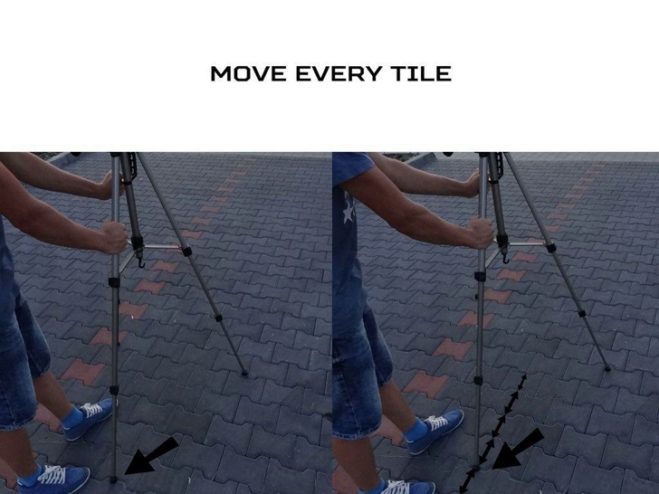
In the last article, we touched on the choice of trajectory for your movement and explained why it is vital to keep a “shooting step.” If you’re going to shoot with a tripod, note that you can measure the “shooting step” with the help of the tripod leg, moving it the same distance each time.

Image source: instructables.com

Image source: instructables.com
Most DSLR cameras have a horizon level display function on their LCD. Turn it on and align your shot to this level: it will make it easier to stabilize the video.
In the previous article, we described how to transform your photos into a hyperlapse video in Movavi Video Editor. If your photos were shot with a DSLR camera, bear in mind these additional points:
Good luck with your shoot!