


We use cookies to improve the services we offer you. By continuing to browse this site, you consent to keep them in accordance with our Privacy Policy.
×We use cookies to improve the services we offer you. By continuing to browse this site, you consent to keep them in accordance with our Privacy Policy.
× 3,942
3,942
 8 min
8 min
 1
1

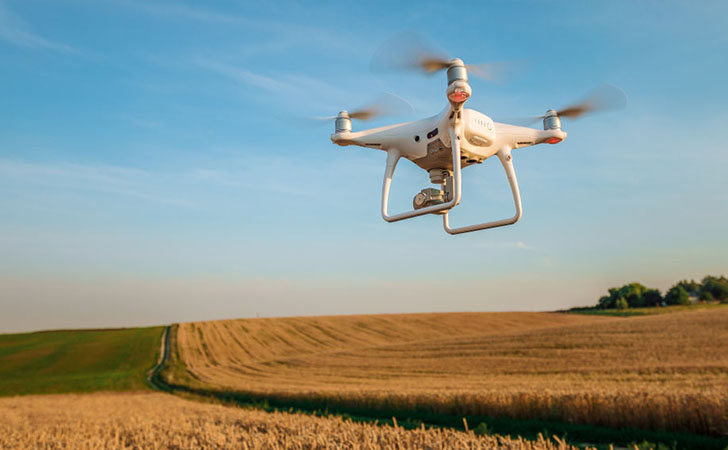
Not so long ago, you had to get on a helicopter to shoot from the skies, but now cameras have their own way to fly, and they do not need us up there with them. Today, drones are an essential element in the art of videography and have greatly expanded the boundaries of the profession: they have become the easiest and most popular way to create an aerial view.
We can skip the stages where you decide that you want to film with a drone, scour the internet for drone reviews and comparisons, and finally buy the drone that is right for you. What next? Where to start? What to avoid? Here are some tips to get you started off on the right foot.

Take your time and explore the technology
Don’t try to plan your first shoot right away, and don’t count on great results on the first few attempts. You need to learn to “drive” first: get a feel for the drone and its controls. That includes learning to manipulate it in the air, and to rotate the camera. The first couple of flights will be training ones, because the technology is new to you. So, if you buy a drone to film a specific event, buy it well in advance.
Choose the location for the flight
Think of a place to test your drone. You should keep in mind that it is forbidden to fly near airfields and other restricted access facilities. It is also inadvisable to fly over a private territory, if only because of the difficulties that can occur if your drone lands there. It is dangerous to fly a drone near city buildings and power lines, close to mountains and water reservoirs. There may also be local laws in your location you need to follow.
The best location for the flights is an open space: a field, a wasteland or a park with a large lawn.
Read the manual for your drone carefully
Although we provide general tips in this article, to know the precise capabilities of your model, you must read the manual. Sure, you don’t feel that enthusiastic about reading a thick manual instead of throwing yourself into shooting right away, but… It’s better to take your time here, because it will save time and possible trouble later when you put your drone to work.
Buy extra batteries
A normal battery will last for 10-30 minutes, depending on the model. And don’t wait for it to die with your drone high above the clouds. It is better to start out landing your drone when the battery is at about 35%. When you feel more confident with the controller, you can lower this figure. Buy 2-3 extra batteries – they will allow you to shoot longer.
Prepare your drone for flight
Before sending your drone up, activate it in the system, adjust the settings, and calibrate its sensors. Do this outside: the GPS signal is poorer inside buildings.
Pay attention to the weather
The optimum temperature range for drone flights is 30-95°F (0-35°C).
Do not send your drone up in the rain, during strong winds or in the dark – you risk losing or breaking it.
So, now you’ve chosen the location, the weather is beautiful, your drone is activated and calibrated, you’re ready to give it a go.
Choose a spot for take-off and landing
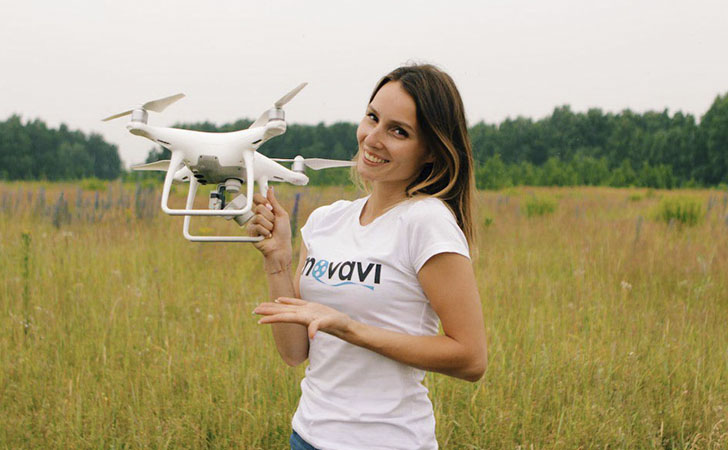
How do you get your drone into the air properly? First: put it on the ground. It may seem obvious, but a widespread mistake is to raise a drone while holding it in your hands. Look for a dry and even spot, free of anything that might get caught in the rotor. The same spot will serve for landing if your drone is capable of returning to its starting point.
Learn to maneuver
Start by raising and lowering your drone. First, raise your drone to 2m and feel the dynamics of its movement. You’ll see that even a slight wind will cause the drone to deviate, so you’ll need to adjust the position accordingly. Then, master the “upwards-backwards” horizontal movement, which is generally performed with a separate joystick on the controller. The next step is to turn the drone around on its axis using the joystick for vertical movement. Finally, try “left-right” moves. Memorize the roles of the joysticks: to learn to fly a drone successfully, you need to train your motor skills so that, over time, control becomes more or less automatic. When you feel confident with the easy moves, you can try more complex ones – movement in different planes and all kinds of turns.
Always keep an eye on your drone
Do not rely entirely on your controller, especially during your first flights. Keep the drone in sight so as not to lose or damage it. Control its position in relation to trees, power lines, and other obstacles, and don’t forget about the wind. If you lose the signal or any other problem occurs, you have better chances to land your drone if you can see it.
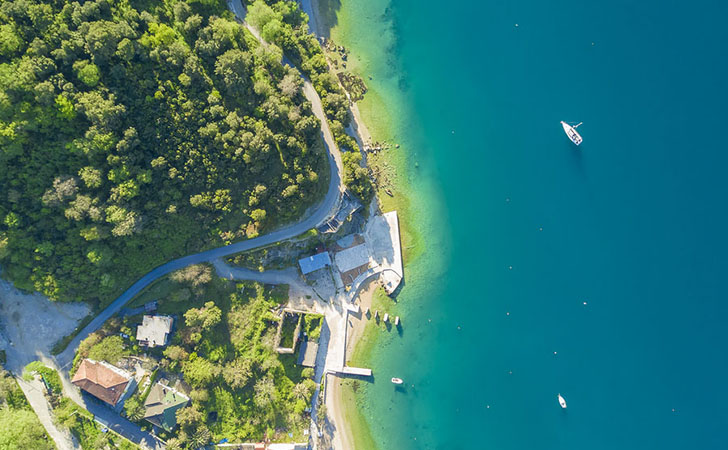
When you have figured out how to get your drone off the ground and how to control it, you can move on to the video and photo techniques. Keep in mind that, while the time of day is irrelevant for maneuvering, the best hours to get good photos and videos fall into two periods:
The camera is attached movably to the drone and can change its direction within 90°, the limit points being a vertical downward view and a horizontal view. The position of the camera is usually configured before the shoot and is not altered during the process; all the dynamics of the video are created by moving the drone.
To learn the basics of drone camera movement, try these exercises:
Watch the video on our Vlog for more detailed descriptions:

