We use cookies to improve the services we offer you. By continuing to browse this site, you consent to keep them in accordance with our Privacy Policy.
×We use cookies to improve the services we offer you. By continuing to browse this site, you consent to keep them in accordance with our Privacy Policy.
× 62,616
 12 min
Stop motion is an amazing animation technique that is available to anyone. It’s a great way to express your creativity and get familiarized with the amazing world of movie making. Read on to learn how to create a stop-motion video from scratch by using a video editing software!
First, let’s get into the theory and see what options you have. Here’s some inspiration for you. Look at these common types of stop motion movies, try some of them to find your niche.
⭐️ Pixilation
⭐️ Brickfilm
As the name implies, in this form of stop-motion videos the animated part is an object (or objects). It can be anything from furniture to food:
Claymation involves creating characters from clay and making a stop-motion cartoon with them. The figures are made out of wires and non-hardening types of clay, which allows very fluid movement.
Clay animation is a very common technique – not only among beginners and amateurs but also among professional movie makers. There are tons of extremely popular cartoons made using this approach – for example, Chicken Run (2000) and Coraline (2009).
In this genre, the animated objects are live actors. Yes, it’s basically animating people! It may seem weird that instead of just taking a video with actors, directors first take pictures with them and only then put the shots together to create an illusion of motion. But sometimes, it creates a really nice and unexpected effect.
This is a way of creating 2D cartoons out of paper characters instead of digitally drawn personages. In the world of professional animation, this method was overtaken by digital alternatives. But for amateurs and hobbyists, it’s still a good way to express their creativity.
One of the most popular techniques in stop-motion animation is using puppets. Any type of puppet can be used: traditional marionettes, wire-based puppets, silicone puppets, stuffed toys,or any other puppets.
In silhouette animation, the characters and items are black, and only the background contains color. This can be achieved by placing the actors and/or objects behind a sheet and backlighting them.
Brickfilm is a stop animation movie where the scenes and characters are made from Lego bricks or similar constructor toys. This type of animation has been around for decades: the first brickfilm movies were created back in the 70s. Today there’s a huge community of brickfilmers – people from all around the world create awesome animations as a hobby or for a living. Some people spend months creating one movie featuring Lego characters!
Now that the basics are covered, we can move to an even more interesting part! Need more examples? Check out the best stop motion animated videos covered in detail. You are probably already inspired and eager to know how to create a stop motion video at home. Well, here’s our DIY tutorial on making amazing stop motion animation movies.
Ready to make your own stop motion movie? It’s not hard at all. To prove that to you, we’ve created a short brickfilm:
Here’s how you can do it in 7 simple steps:
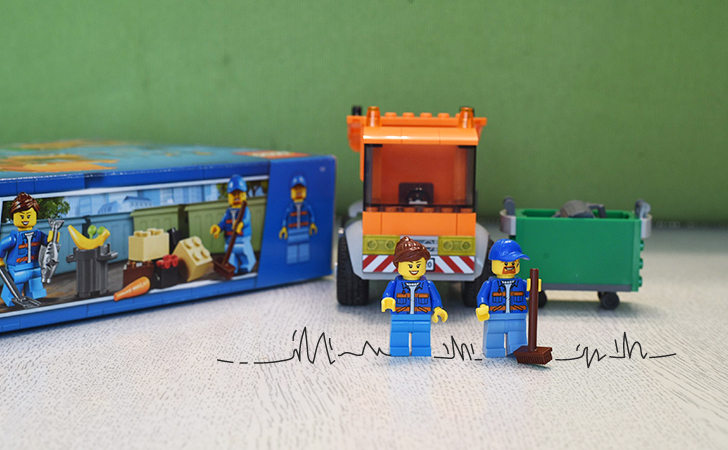
Once you’ve decided what type of stop motion you’re going to create, you can start getting your props together. Find all the characters and objects you’re going to need for your scenes.
When it comes to equipment, you don’t need much for a stop-motion video. If you don’t have a DSLR, you can just use your smartphone – iPhone 7/Samsung Galaxy S7 or a newer one will do just fine. You will also need a tripod and a light. If you’re going to voice your characters, also prepare a microphone.
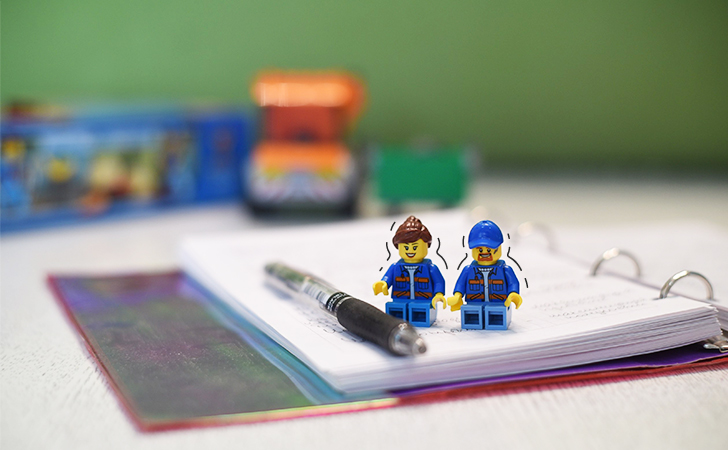
Even if you’re creating a short 2-3 minute video, it’s better to have a script so that you know exactly what to do during the production. Just write down what your characters are going to do and say in each scene and make a story out of it – and your scenario is ready! Read the article linked below to learn how to write a script.
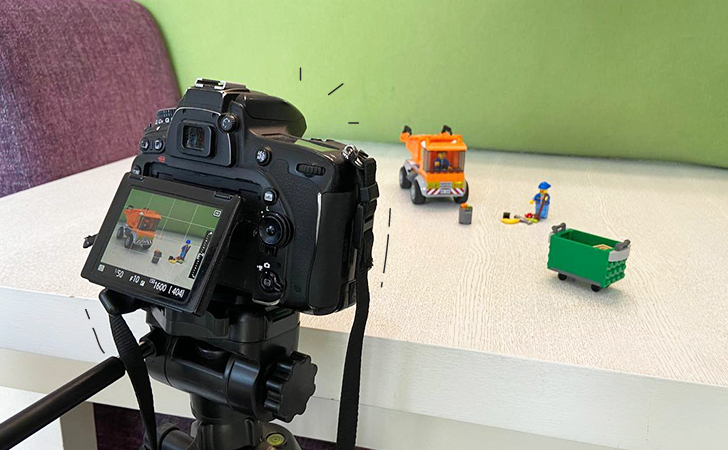
Now it’s time to arrange the scene. Place all the objects and characters as you want to see them in the frame. Set up your camera on the tripod – and make sure it will stay steady when you press the shutter button. In stop-motion animation, it’s very important for the camera to stay still.
Now that everything is ready, you can finally take the first shot! Check if the lighting and the camera settings are okay. And then move to the next step.
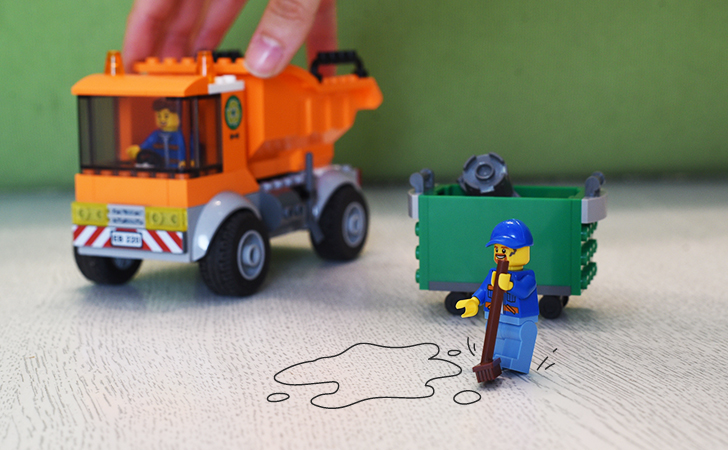
If you want your video to look smooth, make a very slight change. Usually, one second of a stop-motion video takes up to 12 photos. For example, if your character is walking, one step should be captured in at least 2-3 photos. For our 15-second clip, we made 95 pictures (6 frames per second).
Yes, it won’t be quick – but the result is worth it!
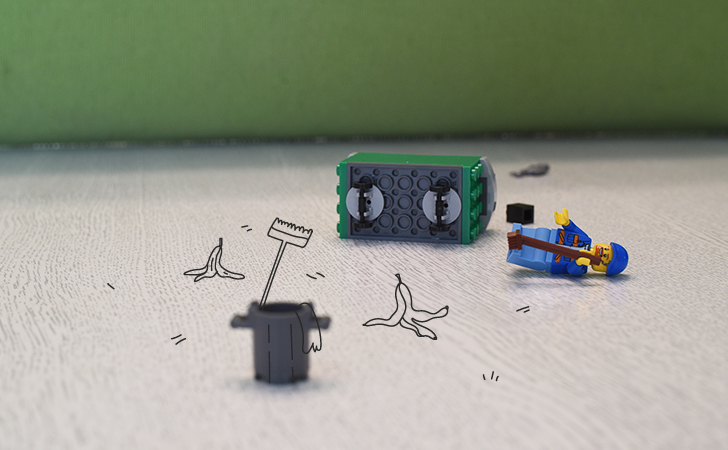
Stay patient and keep going! Even when things don’t go as planned and you accidentally ruin your scene…
To put all the pictures together and make a movie out of them, you’ll need a video-editing program. If you’ve never dealt with such software before, try Movavi Video Editor Plus. It’s a powerful app with all the features one might need to create professional-looking stop-motion animation. It boasts a truly straightforward and intuitive interface, so it’s perfect for beginners.
Editing stop motion movies is not hard at all. All you need to do is upload your pictures to the program, arrange them in the correct order, set the duration for every photo, and then add music and effects. And that’s it!
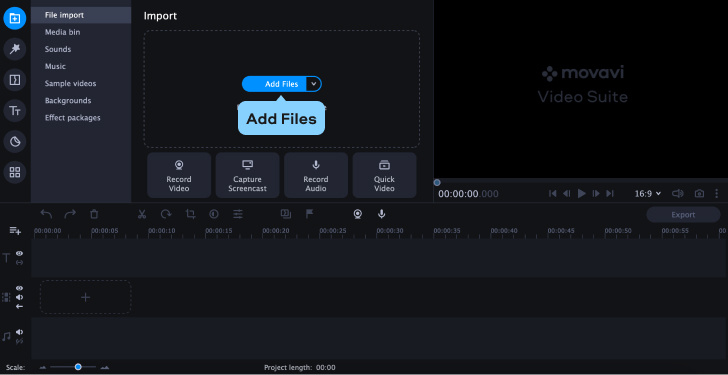
1. First, you’ll need to import all of your photos to the program. Open Movavi Video Editor and click Add Files. Find the folder you saved the pictures to, select your files, and hit Open.
2. The photos will be added to the Media Bin. From there, you can drag and drop them to the timeline. Be careful with the pictures – arrange them in the correct order!
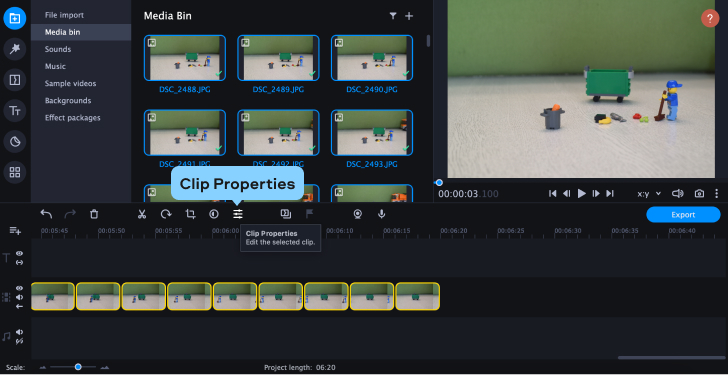
3. Choose the duration of exposure for all photos – it should be the same for each picture. Select all the clips on the timeline (use Ctrl/Command + A shortcut), then go to Clip Properties and set the duration. Play back the preview to see that your project is starting to look like a movie already! But we’re not done yet.

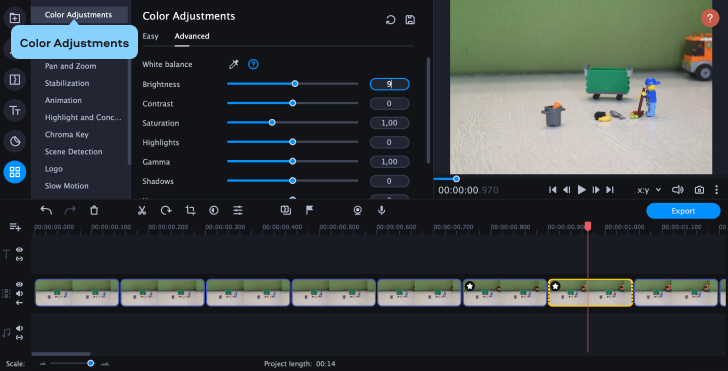
4. Apply color correction to all your pictures, if needed. While all the clips are selected, hit Color Adjustments. In the Easy tab, you’ll find ready-to-use filters for your movie. Find the one you prefer and drag and drop it to your timeline. If you want to adjust colors manually, go to the Advanced tab.
At this point, you can correct any errors you made with lighting. If you have any shadows or your camera accidentally changed the exposure settings during the shoot, you can fix it.
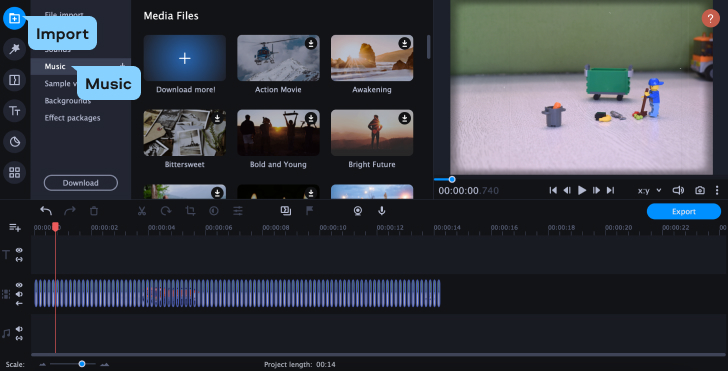
5. If you want to voice your characters, it’s the right time to do this! Click Import and then the Plus (+) sign in the upper-right corner of the Media Bin tab. In the dropdown menu, select Record Audio. Connect your mic to your PC, and then hit Start Recording. For more convincing animation, use sound effects. Click Import and go to Sounds. Here you can choose any of the effects you want and add them to your project. In the Music tab, you’ll find some free-to-use tracks to put as a background to your movie.
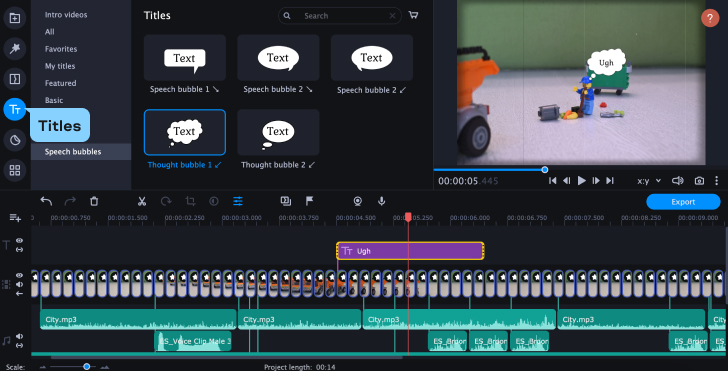
6. We’re almost there! If you want to add subtitles to your videos, go to Titles and choose a style for the captions. Drag and drop the desired option to the timeline. In the preview window, adjust the size of the caption and type in the text.
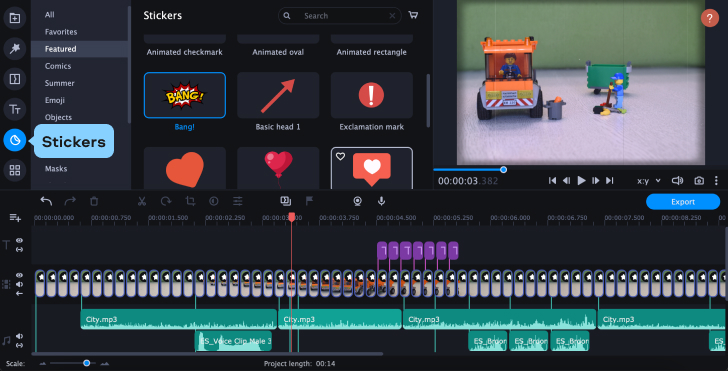
7. Add some stickers to finish off your movie. Go to Stickers and find the options you like.
8. When everything is ready, preview the result. If everything looks good, click Export. Type in the name of your project, choose the file type, and hit Start.
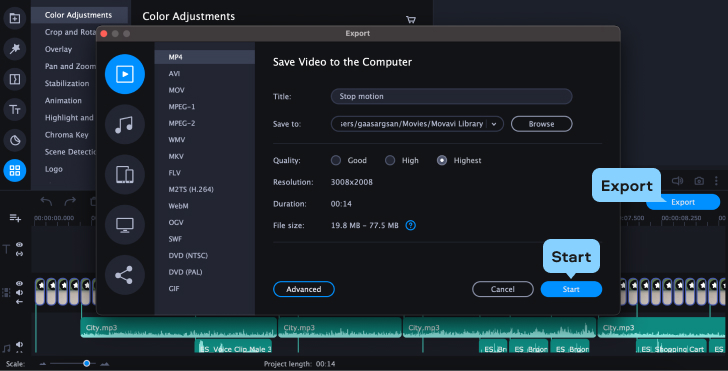
That’s it! In a few minutes, your video will be rendered and ready to post whenever you want!
Want to create a perfect animation from the first try? Here are our pro tips to help you nail that movie!
Keeping your camera steady is really important for stop-motion animation. To make sure that by pressing the shutter button you won’t move the camera, use a wireless remote trigger.
If you’re shooting on your phone camera, you can use your smartwatch as a remote control if it has such a feature. Another way is to set the timer on your smartphone so it takes a new picture every few seconds.
If possible, don’t shoot in natural light, it can be too unpredictable. It’s better to shoot inside and use the lights you have at home. Two-three lamps should be enough to provide enough light and avoid harsh shadows.
In our brickfilm, we had to use natural light, and it didn’t turn out so well – pictures were very differently lit, and it was quite noticeable when put together in a movie. So we had to apply an “old movie” effect to the video, to hide it.
Like the lighting, the camera settings should remain consistent. It’s crucial that the shutter speed, ISO, aperture, white balance are the same for every picture of a scene. That’s why it’s better to avoid automatic mode that can randomly change settings. Check out our guide to basic camera settings to learn more about your DSLR’s capabilities.
If you’re going to add a voiceover to your movie, it’s better to prepare the lines before you start shooting. This way, you’ll know exactly how long each line will take and will take enough pictures to match that line.
That’s it! Now you know how to do stop-motion videos and have all the tools to create one from scratch. We hope our tips will help you easily create a stop-motion masterpiece. Can’t wait to see your movies!