


We use cookies to improve the services we offer you. By continuing to browse this site, you consent to keep them in accordance with our Privacy Policy.
×We use cookies to improve the services we offer you. By continuing to browse this site, you consent to keep them in accordance with our Privacy Policy.
×
 10,228
 6 min
6 min
Every story ever told follows this form: setup, conflict, resolution.
A single photo has the power to become a storytelling device when you take on the perspective of a writer. Even a short narrative can make your pictures worth a thousand words.
People have relied on stories to convey ideas for centuries. A good story can be so gripping it’s difficult to ever shake it from our memories.
Just like reading a story triggers the imagination, so can looking at certain images. Take going through an old family album; if it evokes any feelings, it is because you are aware there’s a story behind the images. Even the most mundane moments become powerful.
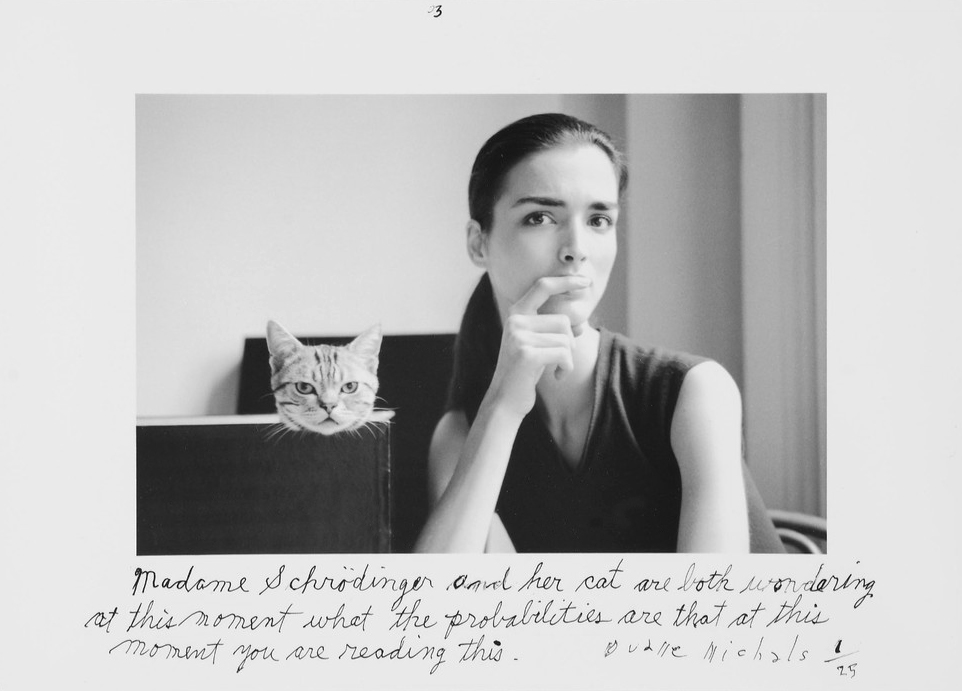
Photographer Duane Michals, an innovator in the field, became widely known for his frame-by-frame photo sequences. The ingenious addition of fictional narratives below the images is also a distinctive feature of his work.
In the commercial world, brands have relied on this device for decades. In photojournalism, knowing there is a traveler behind the camera, is as valid a story as the one captured.
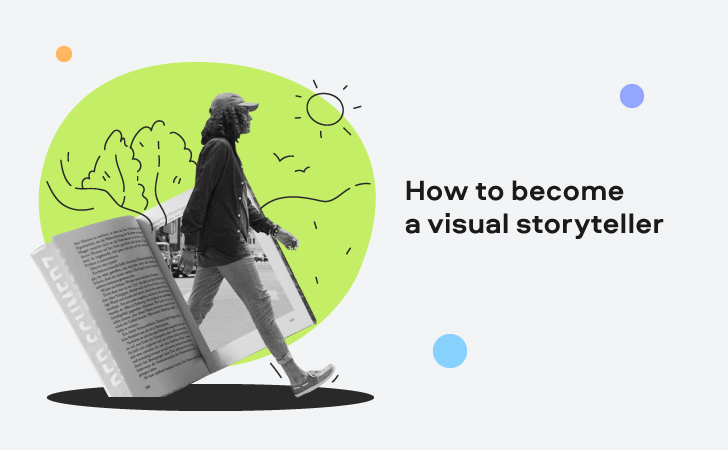
So how do you become a visual storyteller?
Enjoy our special discount for all blog readers!
Promocode: SUPERBLOG
Download Movavi Video Editor Plus with 10% discount for Windows
Download Movavi Video Editor Plus with 10% discount for Mac

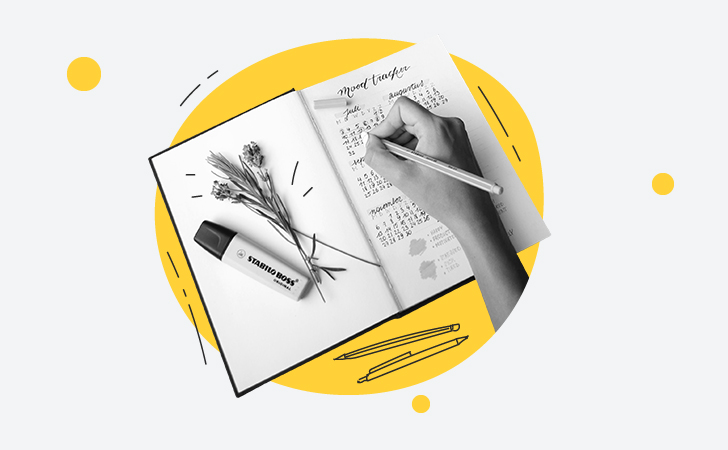
You can start forming your narrative by taking notes. First, outline the main idea. This can be very short, but writing it down will reveal more ways to express it visually. Follow the basic form: beginning, middle, climax, and resolution.
You can use a storyboard template to dissect your narrative and fill in the details. Keep referring to your narrative to come up with different variations for your images.
After you are done, consider how visual elements will help you communicate your story.
On a professional set, the combined efforts of the photographer, creative director, writers, stylists, and the subject, will need to come together to give context to the story.
The setting is one of the first things to consider at this stage. Start by scouting a few locations and take pictures to see what works. Are certain locations more rigid, or are they easy to manipulate?
Weather conditions and time of day make outdoor locations harder to control, whereas a studio environment can give you more control over lighting and more freedom to experiment with props.
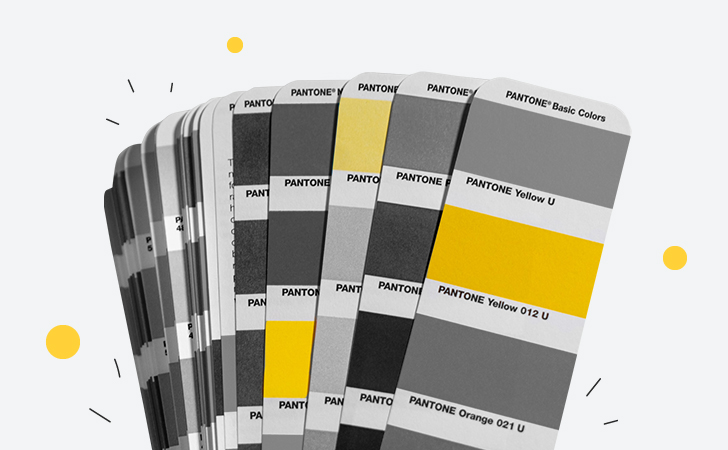
Your choice of colors and textures will affect the mood of the story. You will need to know at least some basic color theory if you’re doing the art direction yourself.
Use a color wheel, and an online color palette generator, to nail down your color combinations. It’s best to start with less and build up as you go, or else, things can get messy fast. Collect images that are close to what you are going for and study them inside out.
It’s best to think about all your materials well before a shoot. If your model needs a fitting session, arrange it on an earlier day.
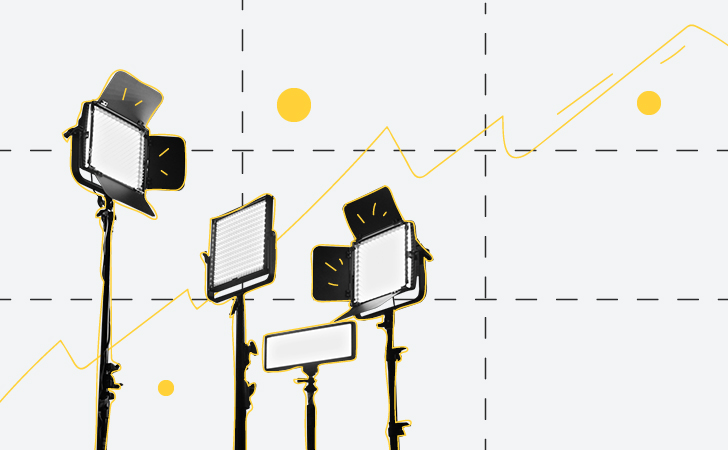
The choice of lighting will also set the mood of your story. You can apply different lighting techniques on your subject for a softer, or more dramatic look.
Composition also plays a vital role in directing attention. You may want to have at least some basic composition techniques in mind when shooting (like “the rule of thirds”) and how applying them can help you deliver your story more effectively. Leading lines, shooting angles, and different types of lenses will all affect how your story looks.
If you are working with a photographer, it’s best to discuss their approach beforehand and ask them to provide relevant examples from their work.

The more you know about your subject’s role in the story, the easier it will be to explain in detail what you need them to do. At this stage, having your narrative and visual elements ready to review together will put you on the same page.
It is also important to give your subject some time to work on their character and allow them room for improvisation.
If you are working with a team, there’s no better way to collaborate than with story and visual boards. Use online note-taking apps and templates for your storyboard – and create visual compositions with mood boards.
Share everything with your team and add comments to guide them and exchange ideas.
Finally, to keep track and make the most out of your resources, compile the information in a pre-production checklist.
When it’s time to shoot, don’t forget the finer details. Remind your team to take short breaks, and have plenty of snacks and beverages to keep everyone running until the end!

