


We use cookies to improve the services we offer you. By continuing to browse this site, you consent to keep them in accordance with our Privacy Policy.
×We use cookies to improve the services we offer you. By continuing to browse this site, you consent to keep them in accordance with our Privacy Policy.
×
 4,316
4,316
 12 min
What is the magic golden hour that every photographer craves? Why would anyone try to set up photoshoots for as early as 5 am? Why would they want to schedule portrait shoots for sunset time if it’s not the sunset itself that they’re after?
If you’re just starting out in photography, it’s definitely worth learning more about this term – and, specifically, how to make the most of it.
Golden hour is the term used to describes the time of day when the sun is at a low angle in the sky, suffusing the scene with a soft golden light that makes most photographs, from landscapes to portraits, look perfect.
So when is the golden hour? Basically, it’s the short period of time after dawn and before \ sunset. It usually lasts for about an hour – hence the name. However, this timeframe is very relative, as it depends heavily on how far you are from the equator. The closer you get to the Tropics, the shorter your golden “hour”. Conversely, an Arctic golden hour lasts for a long time – but it’s only present in the summer.
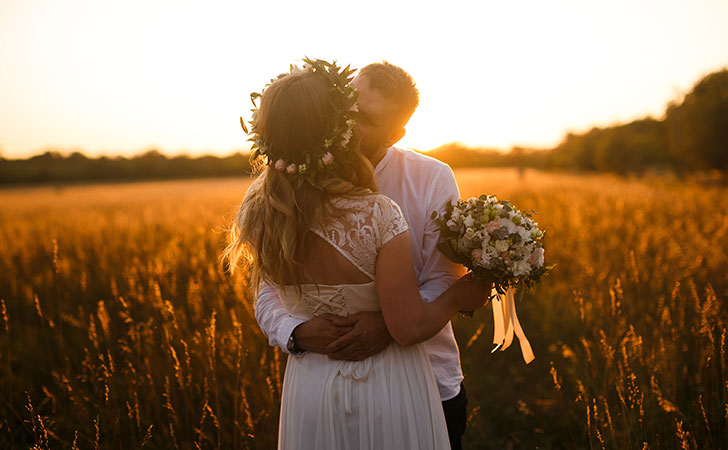
What is particularly special about the golden hour is its warm palette of yellow and orange. This kind of lighting naturally gives your photographs a touch of magic and warmth.
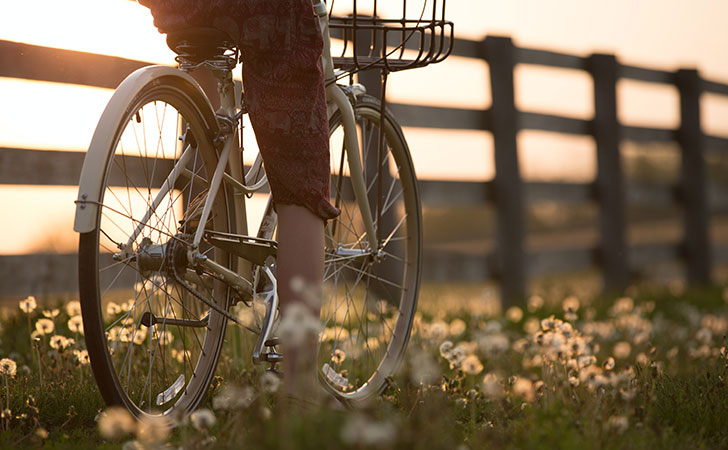
Another benefit is that the low angle of the sun makes the shadows in your photos long and soft. This effect adds an extra dimension to your composition.
And when the sun is so close to the horizon, the light is filtered over a greater distance and so gets more diffuse. Diffused light softens harsh contrasts and exposes objects more evenly compared with any other time of day.
It’s sad when you have everything you need for that perfect photoshoot that will fuel your meteoric rise and make new clients flock to you… but something goes wrong and by the time you have everything back in place, the golden hour is gone. To ensure your golden hour photoshoot goes smoothly, here are a few tips for making it all work.
Unless you arrive at your location a few hours in advance (which can be challenging if you’re shooting at dawn!), you won’t have time to figure things out on the spot. Make all necessary arrangements with your models, check that you can freely access the place you’re planning to shoot, and double-check the time of that day’s golden hour.
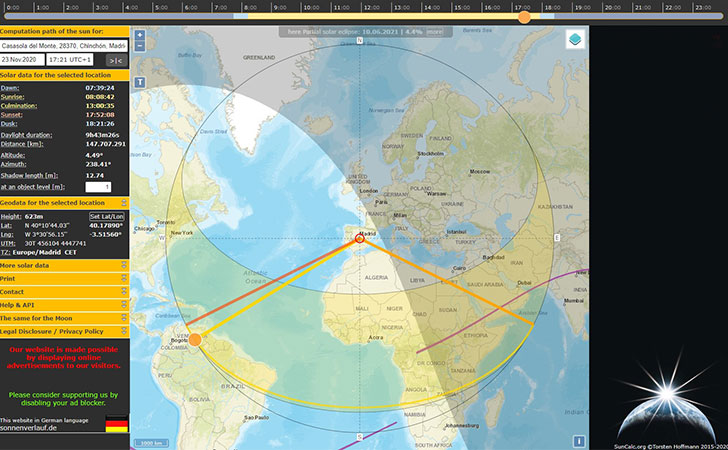
It’s also important to check the direction of the sun: yes, you can deal with this while you’re shooting, but it’s much easier to imagine what you want to get if you know what to expect. Here are a few websites that will help you check the position of the sun in advance:
Suncalc.org – a web tool for tracking the phases of the sun; there’s also an Android app
SunEarthTools.com – a simple website that shows the position of the sun and the way its light spreads on Google Maps. Just input the exact coordinates of your location – and there you go.
Golden Hour App is a website with an iOs app for calculating the golden hour in your location.
Magic Hour is another app for iPhones and iPads with the same functionality.
PhotoTime is a similar app for Android platforms which is also good at calculating the blue hour – we’ll explain this term later on in this article.
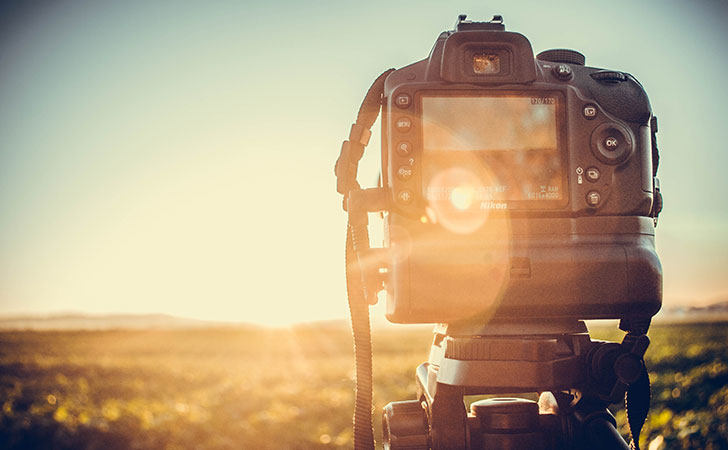
Make sure all your equipment works properly ahead of the shoot. Again, you won’t have time to fix any problems on the spot. Ideally you should also test the camera settings you’re planning to use (we will go into this aspect later, too).
Make sure you set up your equipment before you start your shoot, so you don’t lose time unpacking and choosing the right lens when the golden hour begins.
Using natural conditions is all about improvisation, as you can rarely predict them accurately. You might find yourself with a completely different light because of clouds or morning fog, or other things that might radically influence your initial photoshoot plan. Use every opportunity to experiment and come up with new ideas – that’s what makes photography a true art.
Warm shades provoke positive feelings like enthusiasm, happiness, excitement, and the like. Take full advantage of this to convey the right mood in your golden hour photography. The magic will only work if you can read the story behind the shoot.
If you’re new to photography, we suggest reading our article on basic camera settings first. Once you’re familiar with your camera, it’s time to learn some tricks! Here are a few suggestions for camera settings that are likely to work for most golden hour photography:

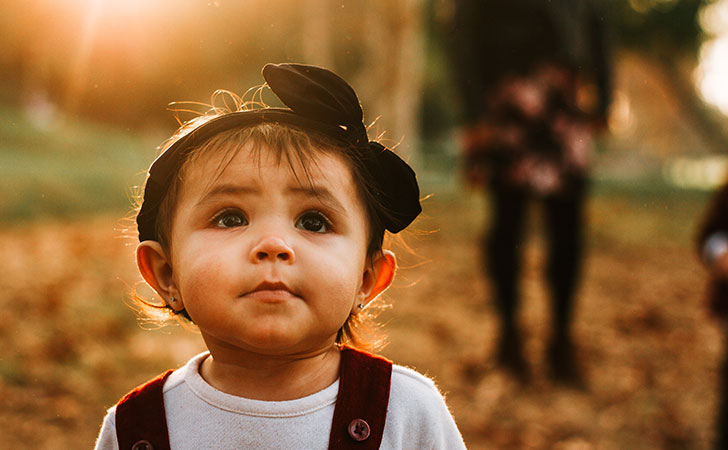
The golden hour is probably the only time of the day when you can have your subject facing the sun, so you have warm and even light. This works equally well with portraits, plants, animals and even landscapes: just let the sun shine from behind you and watch the magic happen.
As you can guess from the name, this trick is just the opposite. Place your subject with the sun behind them and increase your exposure as much as possible (otherwise you’ll end up with a silhouette – and that’s a different story). This way you’ll have a warm glow around your subject. You might need a reflector to achieve the desired effect.

This kind of lighting also has to do with placing the source of light behind the subject, but if the background itself is dark, you will have a much more vivid glowing effect around your subject. It’s a great way to highlight hair in a portrait, or the leaves of a tree in a landscape.
A lens flare can often be an unwanted problem with a shot – unless you make it deliberate and play around with it! Have the sunlight hit the front of your lens and play with angles. If you want the flare to run across your main subject, try positioning it in a way that the sunlight is partially covered. It’s a really fun trick to explore!
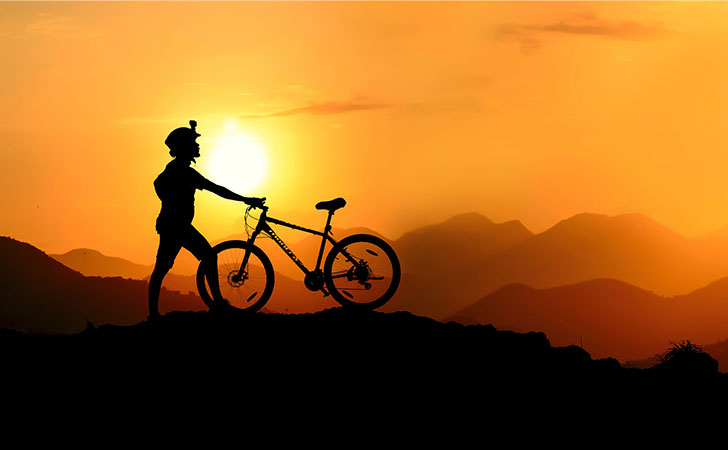
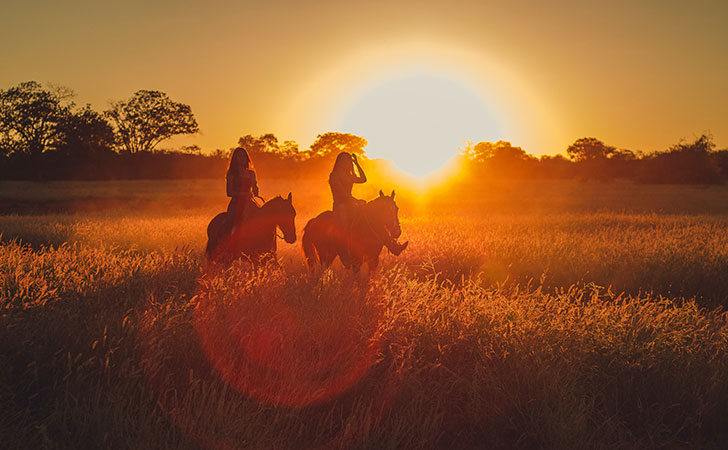
Silhouette pictures can be very dramatic and artsy. We’ve actually written a whole article on this type of photography. The basic idea is to place your subject in front of strong light and make it seem obscure, so the viewer sees only the shape.
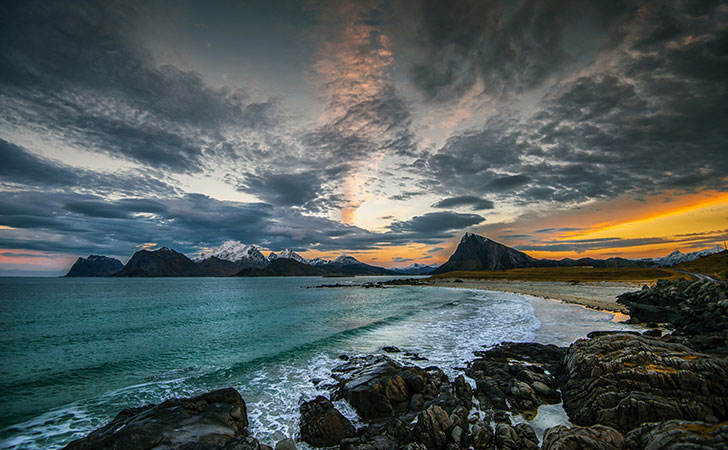
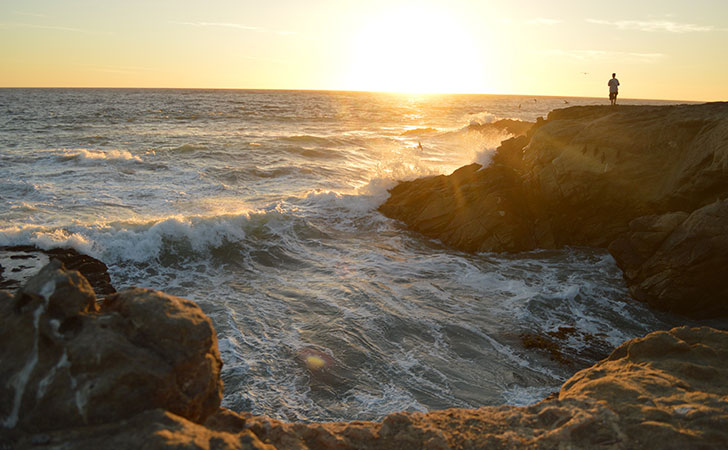
The sunlight doesn’t have to be in the shot at all, actually. Some landscapes look far better when they’re only partially lit with the warm glow – it’s the deep contrasting shadows that we want. You’ll usually have to wait until it gets a bit darker to get this kind of shot; try it on landscapes – there’s a high chance you’ll love it.
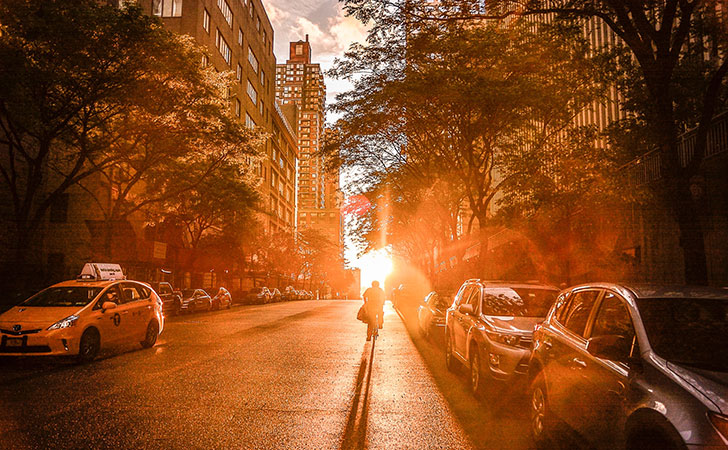
Remember that the golden hour is particularly good for creating long smooth shadows. You can experiment by building your entire composition around them. To achieve this effect, you need to have the sun shining on your subject from the desired angle so the shadow vividly stretches out before you.
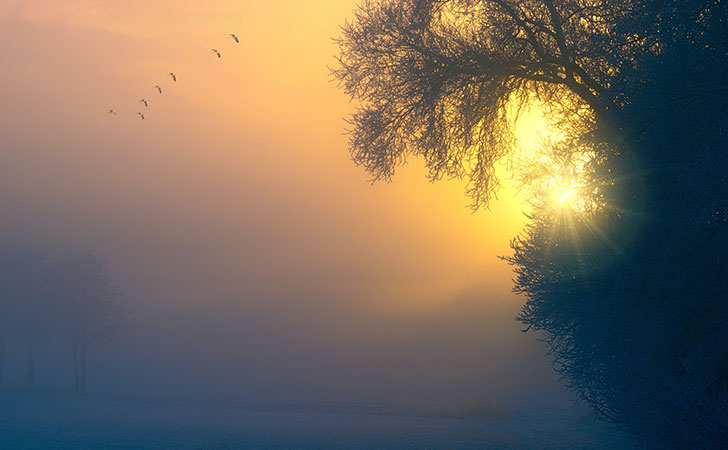
This is the effect that makes the sun look like a shining star in your picture. The idea is similar to what you do in the lens flare trick: shoot from an angle where the sun is slightly covered by something. For example, wait for the sun to get close to the horizon or touch the tops of the mountains if you have them in your scene. Set your aperture to a higher value (f/16 or f/22). Set the ISO lower so that the shot looks underexposed. Works great for sunset views!
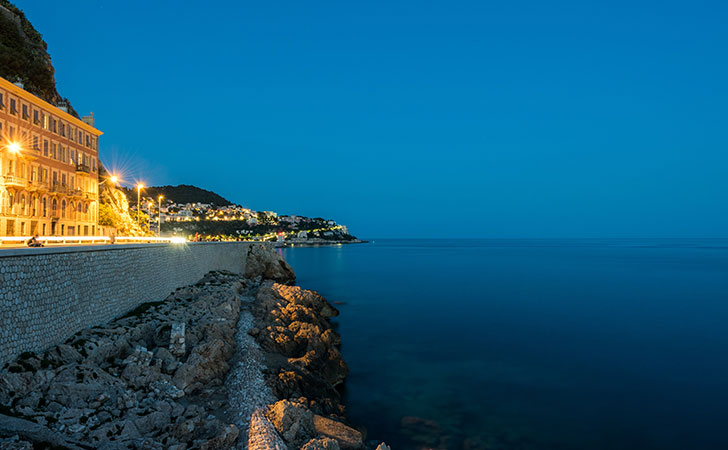
As we mentioned before, there’s also something called the blue hour. It’s the hour before sunrise or after sunset, when the surroundings are imbued with distinctly blue tones. Blue hour photography is a whole different world to explore. Amazing city views, dramatic seascapes, historical landmarks glowing in soft darkness – there is a lot that you can experiment with.
What makes blue light photography less popular is the fact that it’s quite hard to master from a technical perspective. You have to shoot on long exposures so your shots don’t end up blurred. It’s also very unlikely that you will get away without using a tripod, which helps you avoid any camera shake.
Do try to play around with blue hour photography after your golden hour photoshoots – the result will be worth it!
If you’ve done everything right at the setting, you wouldn’t need to polish your shots too much – so a semi-professional user-friendly editing program will do the job just right. Movavi Picverse is exactly that kind of software: its intuitive design lets you nail your pictures to perfection in minutes.
Movavi Picverse offers an advanced set of tools for adjusting your photographs in every aspect: exposure, contrast, color temperature and everything else you might need to tweak. These instruments are particularly helpful in those cases when you didn’t manage to pick the right white balance or iSO on the spot, so pictures came out too dark or too yellow. Movavi Picverse lets you fix these faults in minutes:

Another tool to take advantage of is object removal: no more random strangers spoiling the background of your portraits – you can easily wipe them out.
t’s also worth noting its intelligent AI Upscaler, which lets you increase the size of your images with no loss in quality. This feature can be particularly useful for those who like to print their pictures out – the AI Upscaler will help you adjust them to the format that fits your living room best.

This program has accumulated all the best functions of professional photographic software – and yet it’s as easy to use as every other product by Movavi.
Need an extra reason to try Picverse? Take advantage of our special discount code BLOGPICVERSE to get 20% off! Just insert it while completing your order:

