


We use cookies to improve the services we offer you. By continuing to browse this site, you consent to keep them in accordance with our Privacy Policy.
×We use cookies to improve the services we offer you. By continuing to browse this site, you consent to keep them in accordance with our Privacy Policy.
× 6,606
6,606
 3 min
3 min
Please note that this article uses the iOS version of the app; there are differences in functionality, naming, and placement in the Android version. If a feature described in the article is absent in your version, that means we are currently working on adapting that feature for Android.
Hey there!
Here’s a quick 3-step tutorial on exporting and sharing your videos with Movavi Clips.
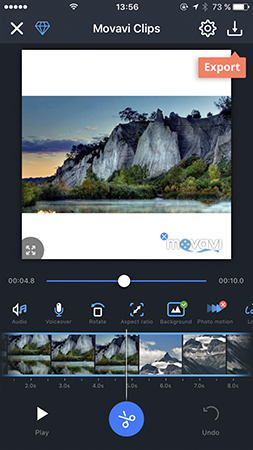
So, you’ve cropped your video, added audio or a voice-over and added text or a logo. You’re finally done with editing and you’re ready to share your video. Before getting started, make sure you have installed on your phone the app for the media you want to use to share your video.
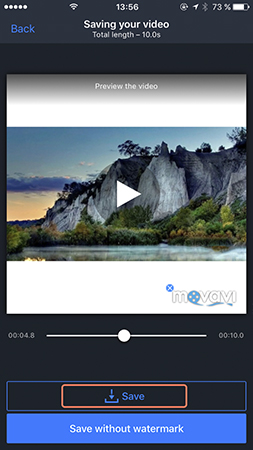
In the window that opens, you can review your video one more time and then save it. Note that, if you’re using the free version of the app, a watermark will appear in one corner of the exported video.
When the export is complete, the app will ask if you want to share your video on social media.
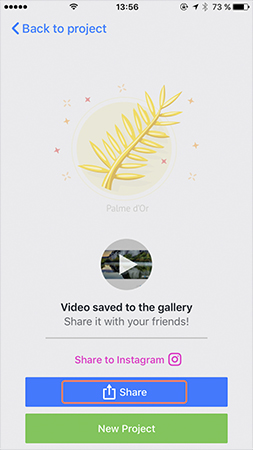
You’ll see the list of choices. Swipe or scroll to see more options.
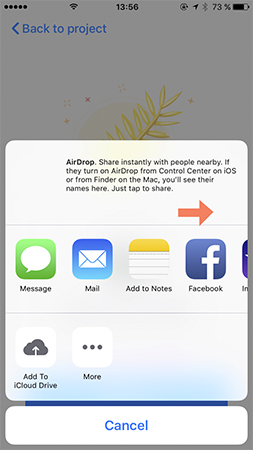
If you don’t see the option you want, that means the related app is not installed on your phone.
Share your video by clicking on the resource of your choice.
And that’s all there is to it!
Yours as always,
Movavi Team.

