


We use cookies to improve the services we offer you. By continuing to browse this site, you consent to keep them in accordance with our Privacy Policy.
×We use cookies to improve the services we offer you. By continuing to browse this site, you consent to keep them in accordance with our Privacy Policy.
×
 2,672
2,672
 6 min
6 min
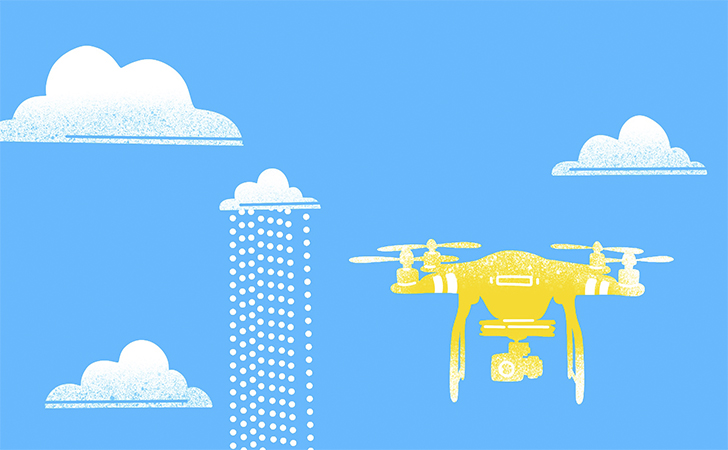
To diversify your video with aerial shots, you can buy or rent a drone. We have already posted an article on the basics of handling a drone. Today, we’ll sum up the most important tips and potential mistakes to remember when shooting with a drone.
One of the biggest temptations for new drone users is to maneuver the drone too much. Be patient and don’t hurry to change the drone’s position – it is advisable to hold the same movement or static shot for at least six seconds. Firstly, this gives the viewer enough time to grasp the entire scene you’re showing. Secondly, shots that are too short can pose problems during editing, as they reduce the opportunities to cut, and part of the shot may be “eaten” by a transition, making it even shorter.
Nevertheless, it is the exception that proves the rule, and there are indeed exceptions to this rule. There is a dynamic way to edit drone video that’s often used in trailers and previews, where you don’t have enough time to show long shots and need to impress the viewer more with flashes of scenes than with the scenes themselves.
You don’t have to always shoot in motion just because you have a drone. Think of your drone as a camera that’s capable of shooting from otherwise inaccessible points, rather than a flying toy. Most of the time, it’s sufficient for a drone to be just hanging in the air and filming a static image.
Static shooting, or shooting that uses just a simple movement trajectory of the drone, is especially appropriate for panoramic views or if there’s some action in the frame itself: a crowd of people walking, a car driving by, or a sports match being played. It might also be a good idea to shoot a character entering an otherwise empty static frame or to move the drone in the direction of the movement at a relatively slow speed.
The trick is to start moving your drone while shooting a midshot of a large object. As the movement continues, suddenly a long-distance panoramic view opens up from behind the object, which can be quite impressive.
Enjoy our special discount for all blog readers!
Promocode: SUPERBLOG
Download Movavi Video Editor Plus with 10% discount for Windows
Download Movavi Video Editor Plus with 10% discount for Mac
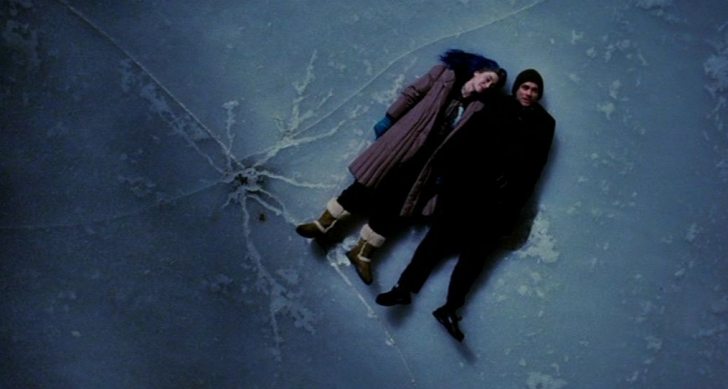
Back before we had drones, cinematographers used cranes, helicopters, and even hot-air balloons as shooting aids. Drones made these cinematic shots accessible to everyone. Here are some examples:
Panning is the smooth movement of a camera. An effective way to use panning is to combine two movements: camera movement and drone movement.
For instance, while the drone is slowly moving upwards, the camera makes a smooth downward movement from the horizontal position. The opposite – when the drone descends but the camera starts tilting up – is also cool. It looks particularly good if there is a large object in the frame.
Some drones can do a circular motion by themselves while keeping the main object in the frame. In DJI drones, it is called the active track function. If you’re skilled in drone maneuvering, you can try to reproduce this movement manually. You can also add smooth ascent and backward movement to a circular motion, which will create an impressive upward spiral motion.
It is hard to give up parts of a video you’ve made with a drone – all the shots look so cool. But good editing means concise editing. Choose the best shots carefully: those with a terrific image, with no random light hitting or wind shaking your drone. Remember the 6-second rule – don’t get carried away by the long looks at landscapes that easily become boring if not edited correctly.
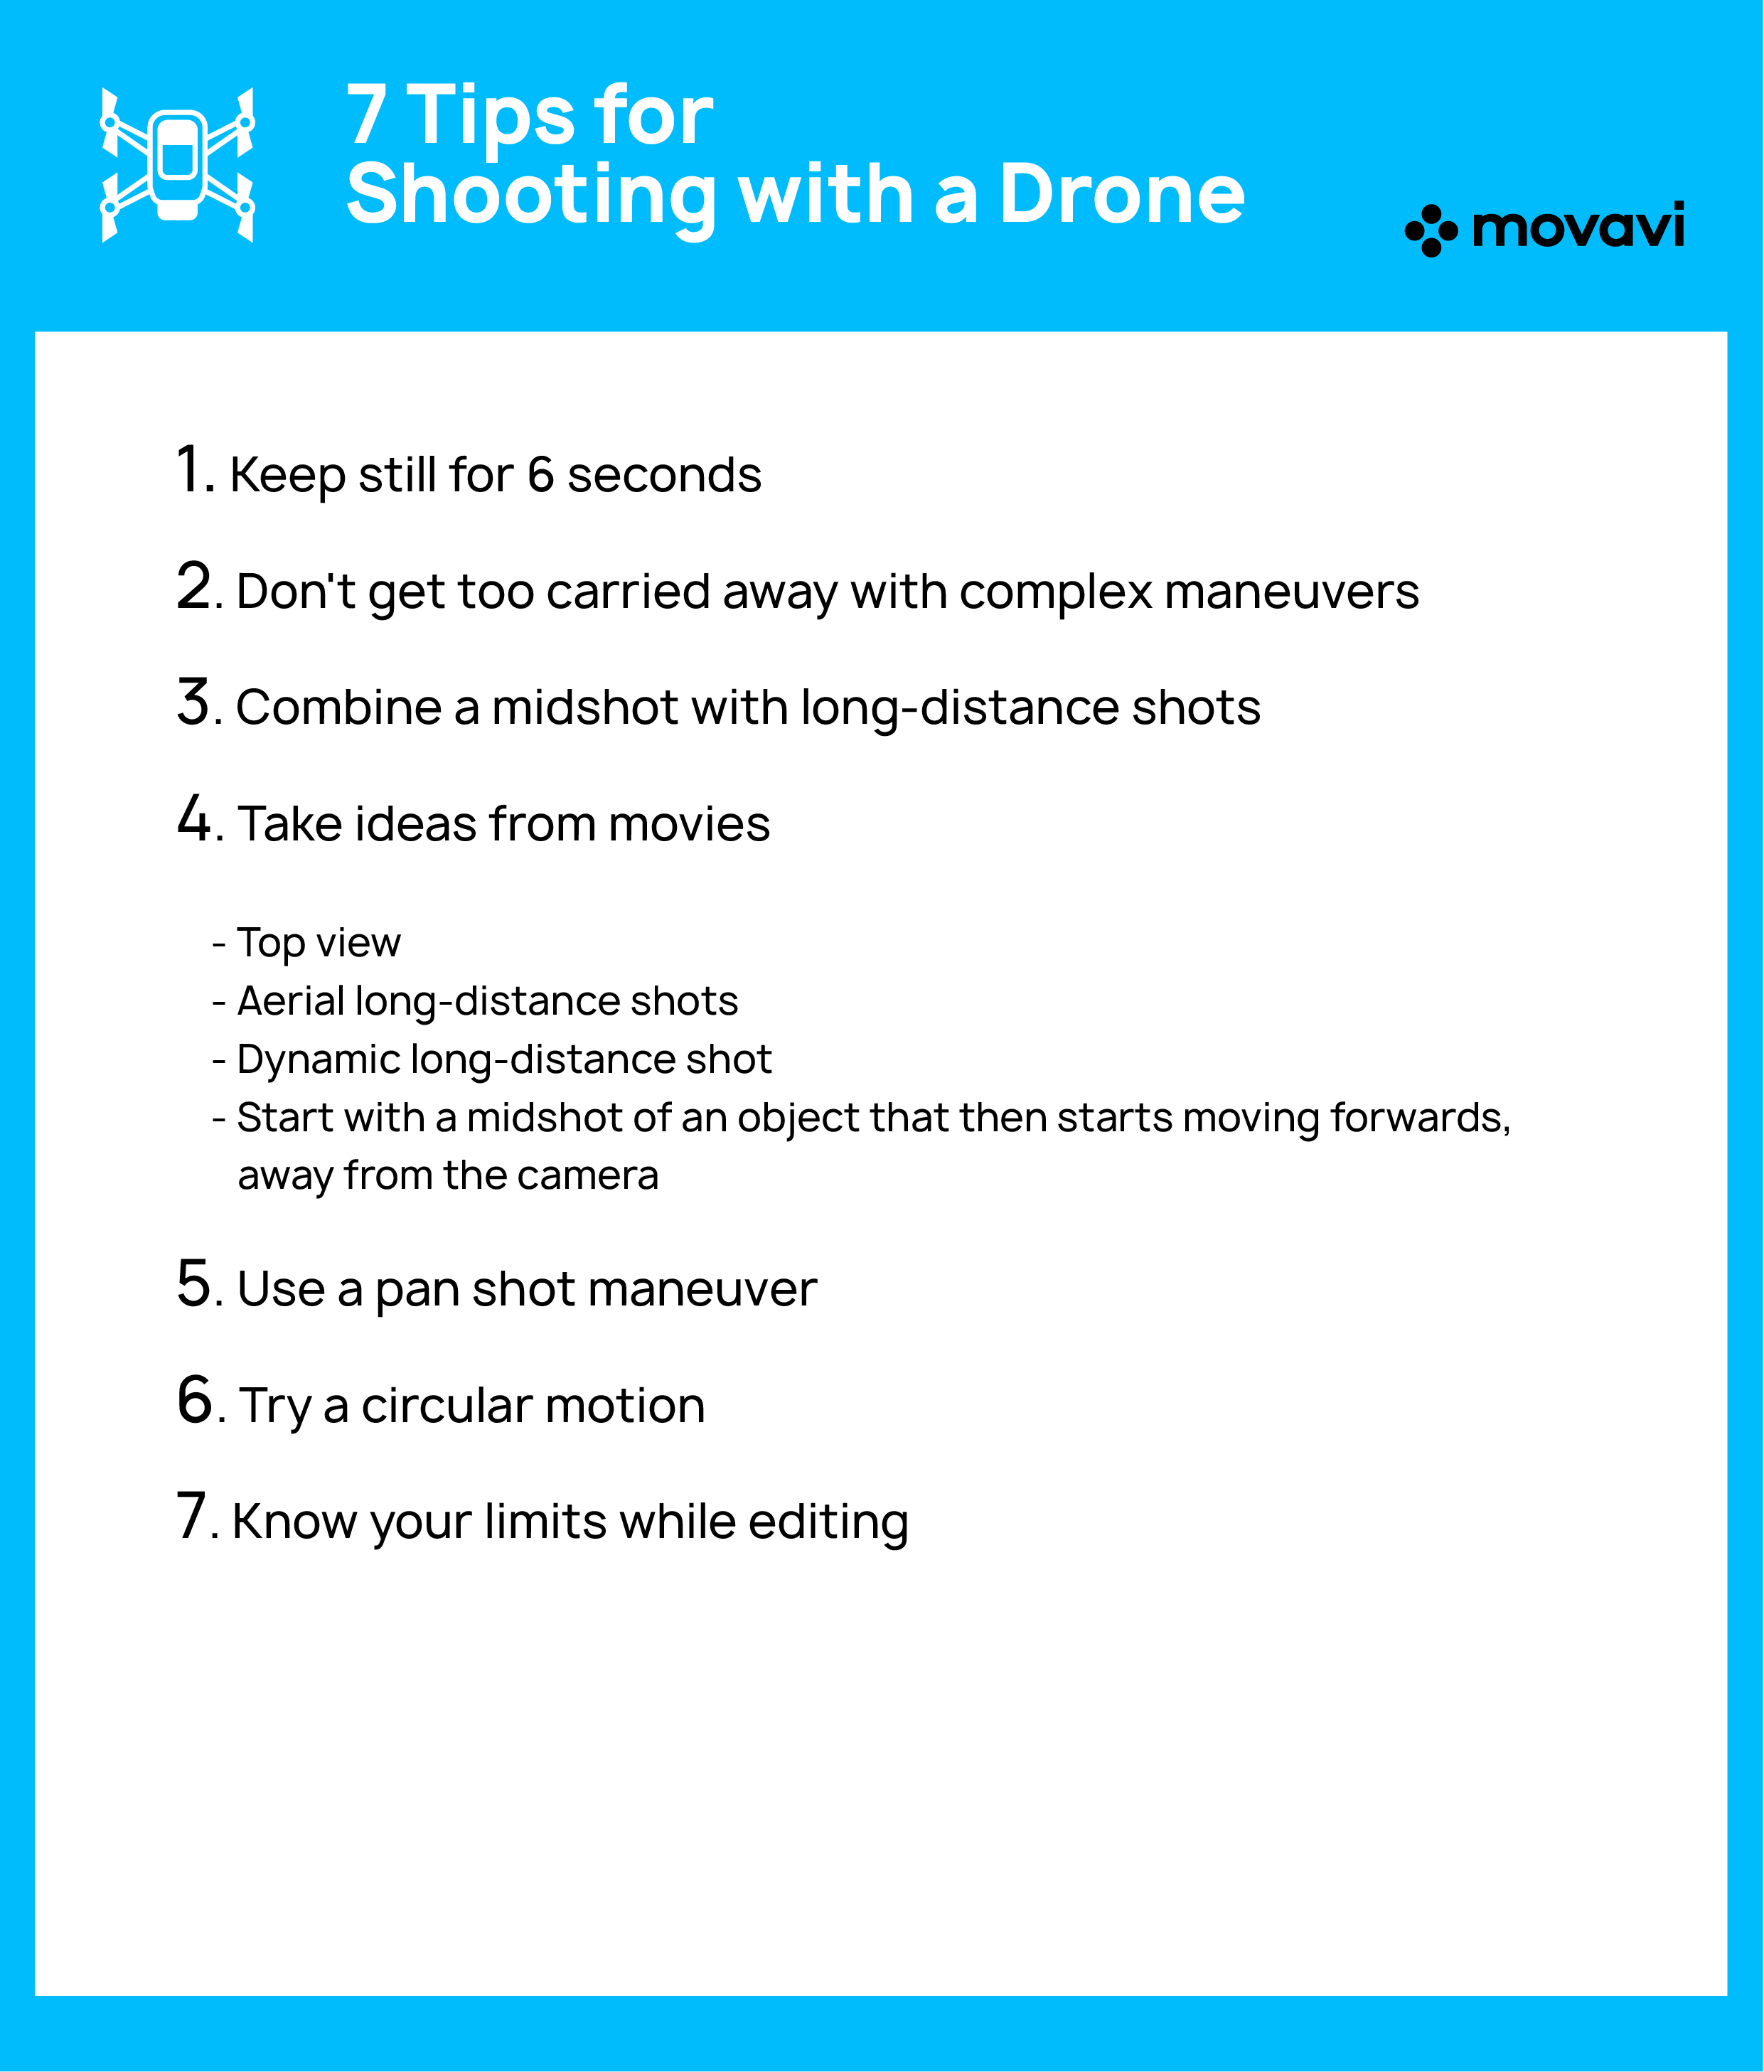
To keep these tips at hand, save the checklist we’ve made for you:
Here’s a video from our vlog to help you visualize these tips with the help of examples:

