Take advantage of our special 10% discount for all our blog readers!
We use cookies to improve the services we offer you. By continuing to browse this site, you consent to keep them in accordance with our Privacy Policy.
×We use cookies to improve the services we offer you. By continuing to browse this site, you consent to keep them in accordance with our Privacy Policy.
× 12,012
 10 min
Have you always wanted to start a YouTube channel but never did, thinking it is too complicated? Well, you can set that thought aside, because it is now easier than ever to create and maintain your channel on this platform. Starting something from scratch is never a breeze, but the key is to actually get started. We have created a whole list of tips and tricks that will help you get acquainted and involved with this platform. Let’s jump straight into it.
YouTube is an excellent platform to reach a mass audience for any topic. If you want to grow as a vlogger and make a living as a creative artist, YouTube is the perfect place for you. If you want to grow as an expert, share knowledge, and make money giving personal advice – to YouTube you go. Or maybe you want to promote your business by increasing brand awareness? YouTube is also in this case the place to be. If you are a public figure, this same platform will help you develop your personal brand and gain more public trust. In fact, it is a versatile tool that can be used by almost anyone.
Many people believe that running a YouTube channel in 2021 is not as effective as it was years ago when the platform was less saturated. They couldn’t be more wrong. Quality content is still highly valued, and there is never too much of it. The most important thing is to take your channel seriously, even if it’s just a hobby. So, how do you actually create a YouTube channel?
Editing ready-made videos is super convenient with Movavi Video Editor Plus. It comes pre-installed with all the necessary effects and transitions for an exciting video about your trips and hobbies. All readers of this blog get a 10% discount on Movavi Video Editor Plus when using the promo code SUPERBLOG.
In an earlier article, we have written about video genres that are currently popular on YouTube. If you want your channel to be continuously popular regardless of temporary trends and maintain a stable audience, the following ideas may help you out.
✅ Reviews of gadgets
✅ Unboxing stuff from Aliexpress, Amazon, and more
✅ Cooking recipes and tips
✅ Game channel with let’s plays and walkthroughs
✅ Fitness and workouts
✅ Talk shows
✅ Lifestyle vlogs
✅ Funny sketches
✅ Beauty Vlogs
1. Log in to your account
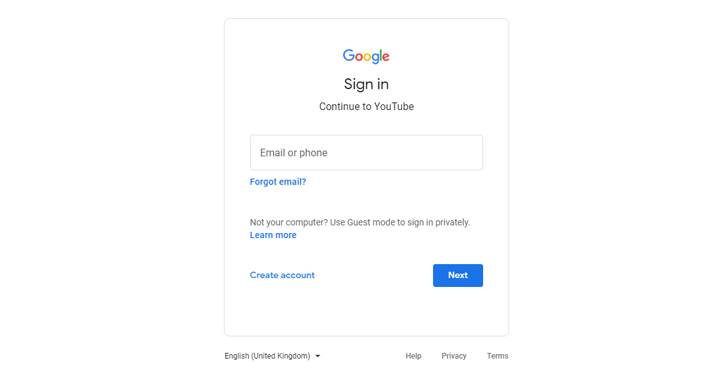
Head over to YouTube.com, click Sign in in the top right corner of the page. On the following page, hit the create account option and follow the instructions.
2. Create a channel
Click on your profile icon in the top right corner of the screen. Then click on create a channel. If you already have a channel, you can create a second one in the settings menu.
3. Customize your channel
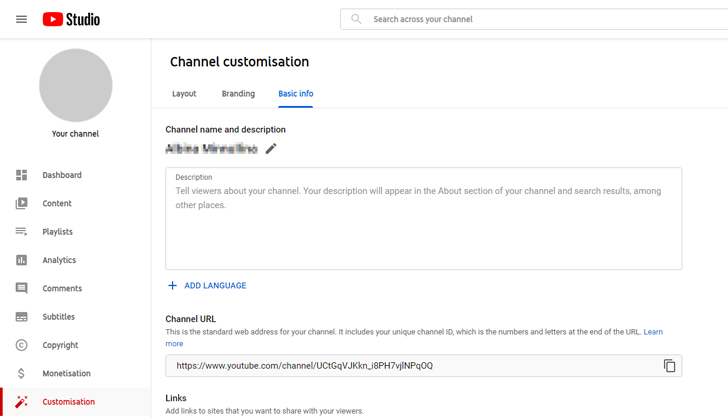
Add a profile photo and banner image. For the profile photo, it doesn’t matter whether you use a logo or a photo of yourself. For the banner image, however, it is best to use something more interesting. We recommend watching our video on how to make a YouTube banner image to turn this part into a breeze.
4. Add a channel description
Your channel description tells people who you are, what your channel is about, and what the viewer can learn from you. A good description can help convince people to hit the subscribe button, so make sure you put some time into it. Don’t get too carried away, though, as no one will read a description that is too long.
5. Fill your channel with content
Now that the base for your channel is set, it is time to start uploading. Come up with cool video ideas, then shoot, edit, and upload the final product to YouTube. You can check out various tips and tricks from other YouTubers to help you out with this.
Try to keep your videos specific to one niche. If you try to catch too broad of an audience, you will likely not attract any audience at all. Choose a topic that you are most comfortable making videos about. If there are several such topics, start with the one that has the highest potential and see how it works out for you. You can always create additional channels for other topics that interest you later if you want. Learn more about finding a niche in this video from Movavi Vlog:
Don’t go all out and cover all genres of YouTube at once. Instead, start with 2-3 formats that best suit your topic and work well for you. For example, if you are a craftsperson you can start with step-by-step guides and reviews. Or, stick to one specific format. It can be a talk show, a vlog, an unboxing video… you get the point. Simply make sure that the format you choose is popular, and of course that it is interesting to yourself. To experiment with new formats, you can always upload videos in private mode, send them to your friends for feedback, and, when the feedback is positive, start uploading them as public videos.
Think about how often you want and can post new videos, create a schedule, and stick to it. Optimally, you want to upload at least once a week but make sure to post at the same time and day. That way, the audience will know exactly when to expect a new video from you. The YouTube algorithm also favors channels with regular updates.
Attractive visual design plays a significant role in achieving success. YouTube is full of mediocre channels with poor content quality. Don’t become another one of those. There are many photo editors out there (online too!) that will allow you to create a visually appealing preview image that will stand out in search. You can learn how to create one yourself in this video from Movavi Vlog. Having a captivating intro and outro is also quite important. The intro helps keeping your viewer hooked at the beginning of the video while the outro can serve to remind them to subscribe to your channel and to direct them to your other videos.
If you are new to keywords, make sure to read up on YouTube tags. Figure out what keywords YouTube users tend to enter when searching within your topic and incorporate them in your descriptions and titles. This will boost the discoverability of your video among the thousands of other videos on the same topic.
Include interactive content in your videos. Send greetings to your subscribers, ask them questions, and encourage suggestions. Make sure to regularly read and respond to comments. These comments will help you get a better understanding of what you are doing well and what you can improve, as viewers often express their thoughts through the comment section. You can find out more on the importance of engaging with your audience and how to properly do it in this video:
Releasing new content should be done in a way that is both convenient and quick. Otherwise, there is a big risk that you will get tired and quit after a couple of months. To prevent this from happening, create a comfortable environment for filming and editing. Use equipment that takes little effort to set up. Even a smartphone will do. Learn how to create a cinematic picture with any camera from this article.
For the editing part, it is best to use simple and intuitive software. If you can start by editing on a computer — mastering complex editing apps on a phone or tablet is often much more challenging. We recently covered a list of the best free editing software, but now we recommend that you try Movavi Video Editor Plus. Its recent update has made editing easier than ever, and the number of useful and interesting tools has also gone up. Before making the purchase, try the free version – it is a great opportunity to evaluate all the new features hands-on.
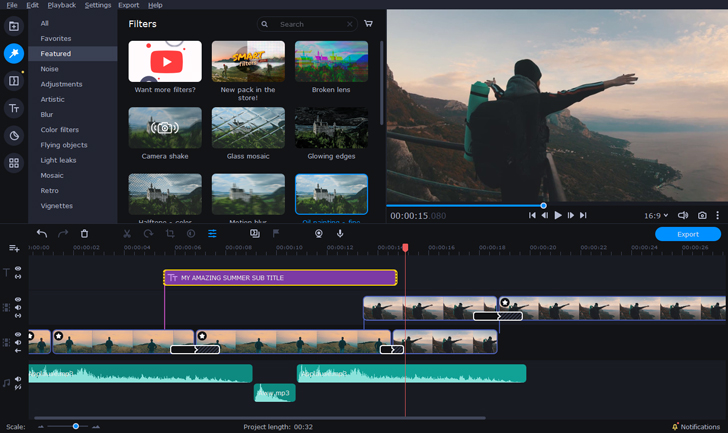
Now you can leave empty spaces between different pieces of footage on the timeline. This feature makes it easy to start collecting material before finishing the shoot. You can start importing preliminary video data and leave temporary gaps in places where the footage is missing. Imagine you are editing and can’t find the right frame for a specific part of the video. You can simply leave it blank and get back to it later.

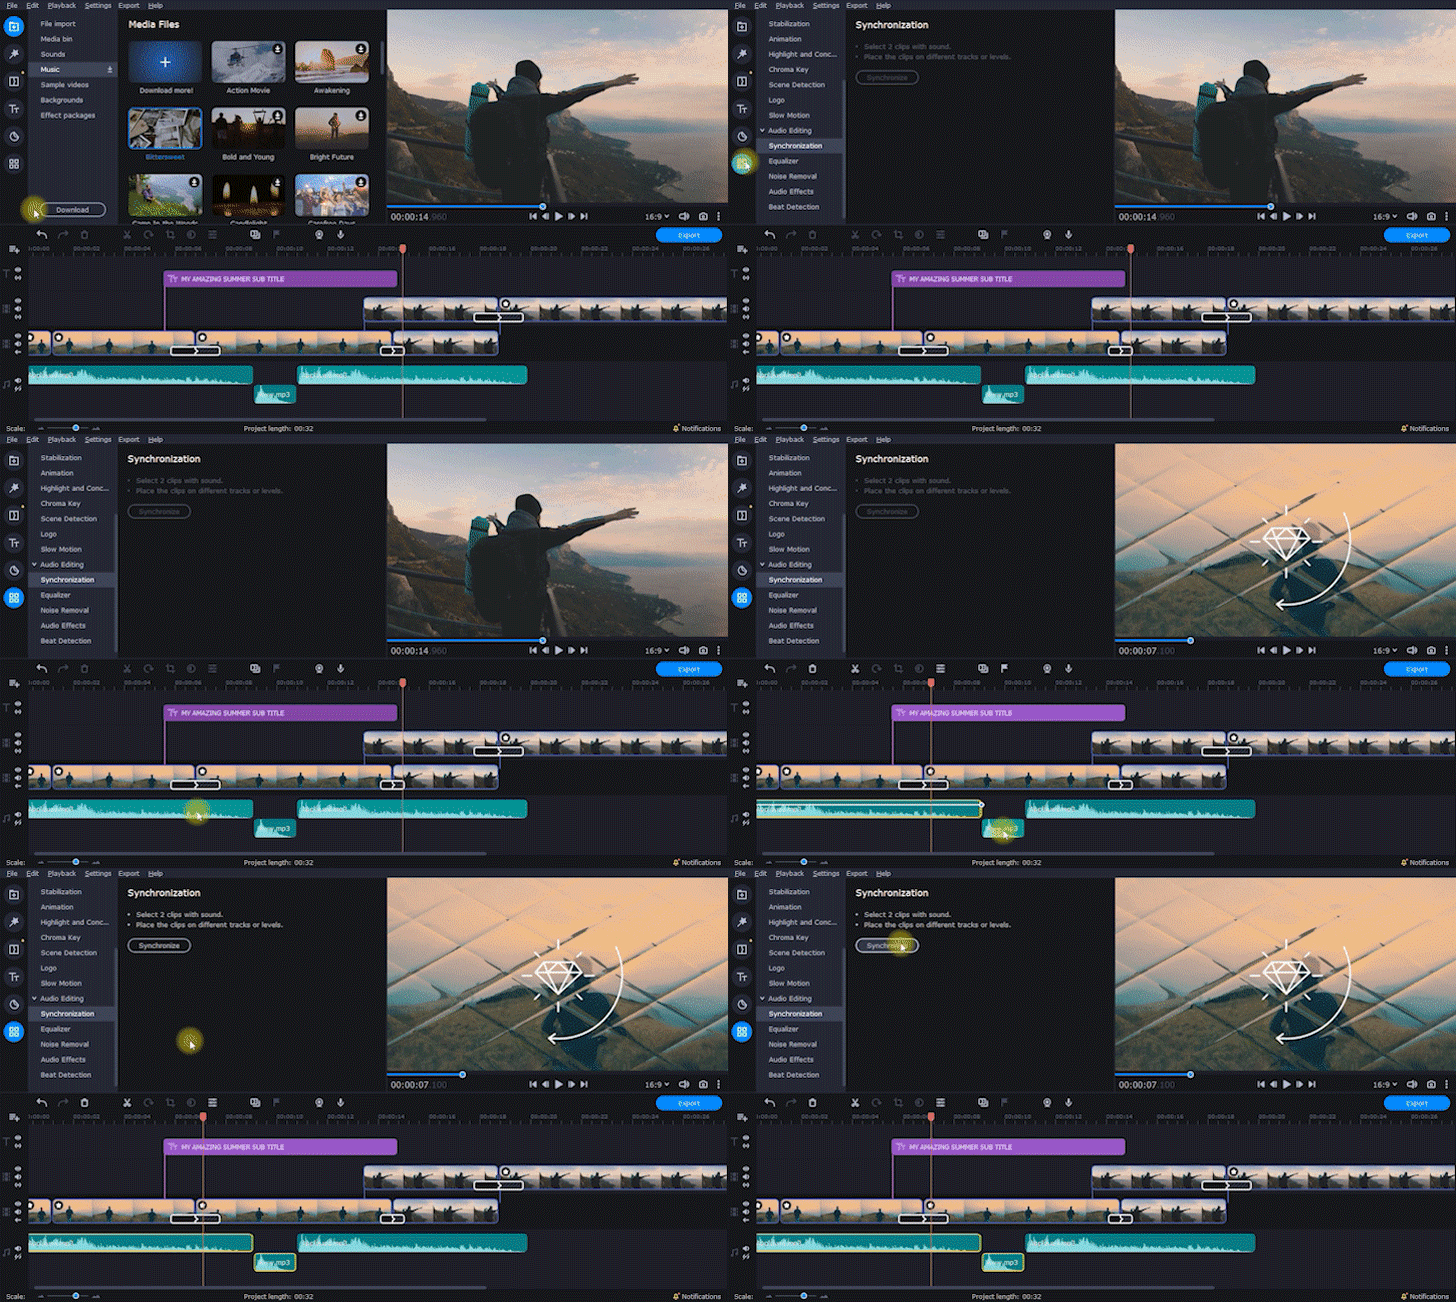
When using multiple cameras or microphones, it can be very tricky to manually match the correct audio track with the different video files, and there is nothing worse than when audio and video are not in sync. With the new feature for automatic audio synchronization, you no longer have to worry about it — the software will do all that work for you.
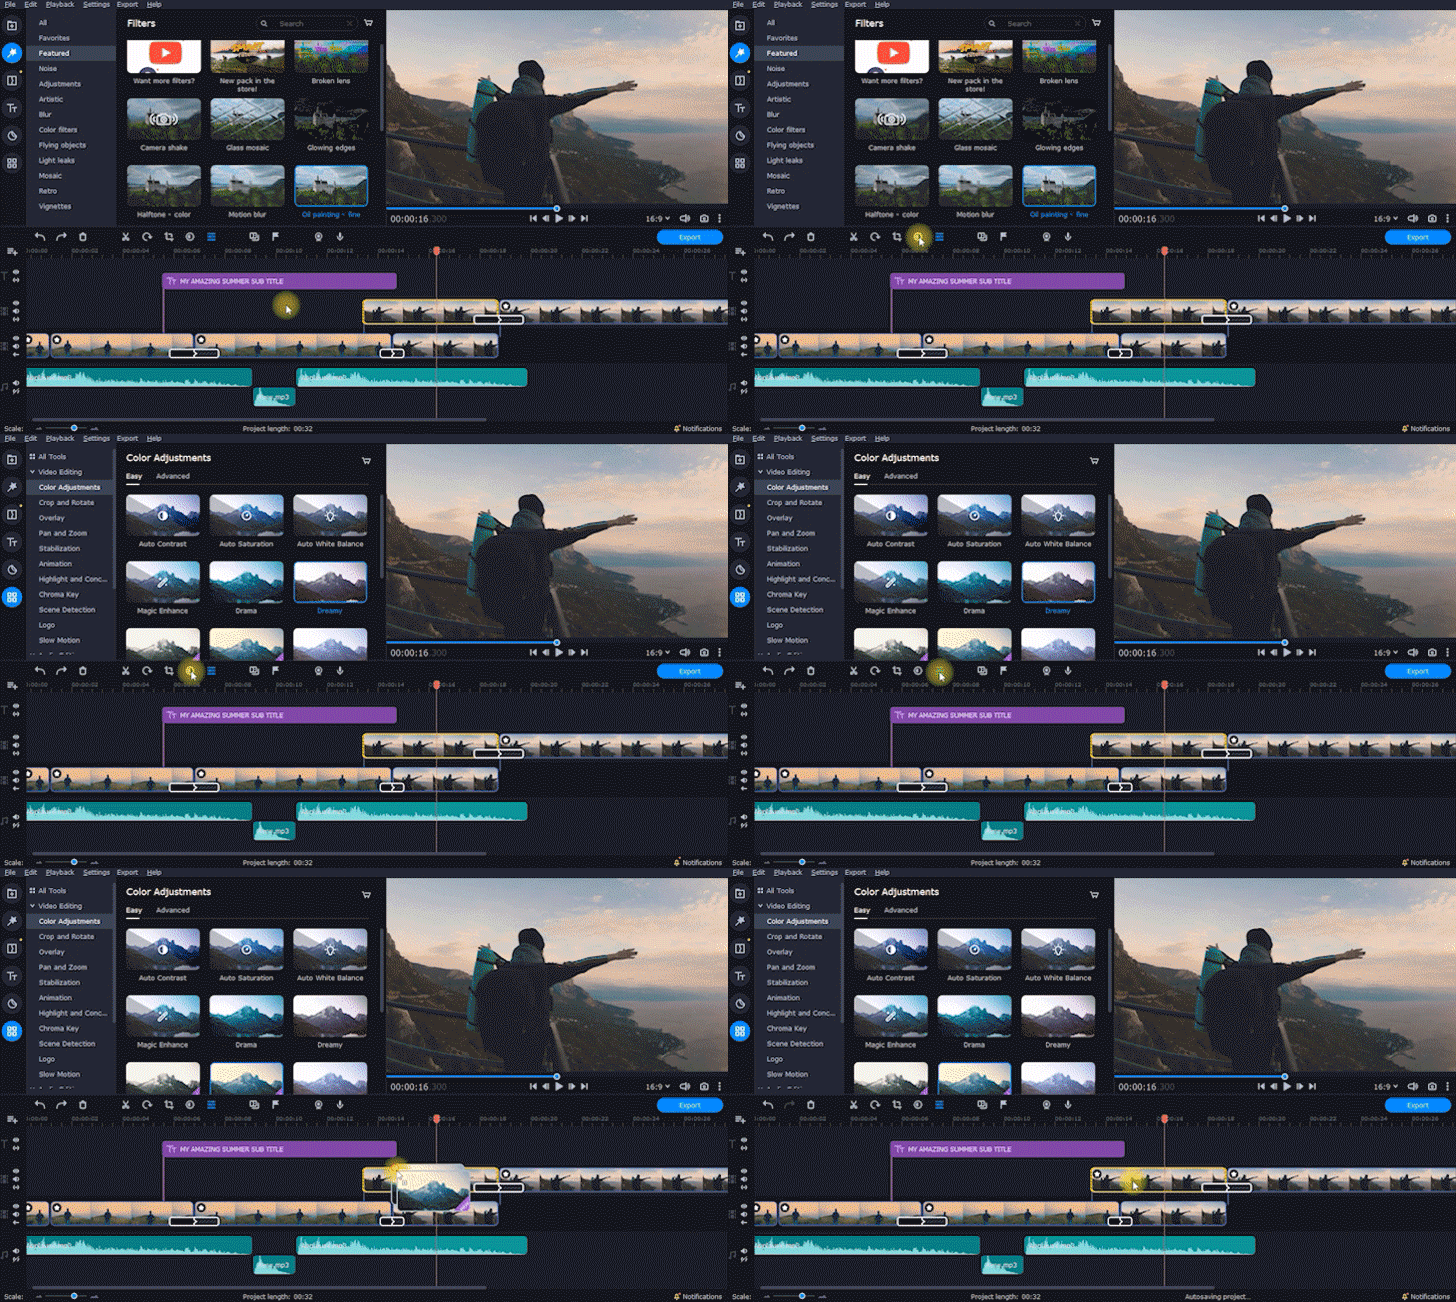
If you have always wanted your videos to look dark like The Matrix or bright like Hollywood musicals, you will have to do some color grading. While you may have heard of complex software like DaVinci Resolve, there is no need to waste time mastering such programs. With Movavi Video Editor Plus, color grading your videos takes just one click. New LUT effects in the program’s library automatically transform the color of your videos and add the right mood to them.
That’s it! Now you’re all set to starting your new channel and becoming the next YouTube star. Good luck 😉