We use cookies to improve the services we offer you. By continuing to browse this site, you consent to keep them in accordance with our Privacy Policy.
×We use cookies to improve the services we offer you. By continuing to browse this site, you consent to keep them in accordance with our Privacy Policy.
× 3,352
3,352
 5 min
5 min

Let’s face it: gimbals, steady cams, and other stabilizing constructions cost a fortune, which can take amateur videographers by surprise. Are these devices worth it? Yes, they are. But are they vital for all video production? Well, no. You can get away with not using them. In fact, there are plenty of ways you can make your image less shaky. Please read our list to the very end before you throw away your tripod – you will need that, too (although you can still do the job without it!).
Pretty much every part of your body can be used as a stabilizer. Try various approaches to find what fits your camera best. Remember to breathe slowly and steadily at all times.
This may sound dumb, but it does have a real impact. Holding your camera with both hands gives it an extra point of contact – like switching from a monopod to a bipod.
Or, better, in it. Bend your arm and place your camera into the angle. Slightly press it against your body. This trick probably wouldn’t work if you’re on the move, but smooth panoramic shots are guaranteed.

Shooting from a lower center of gravity is easier if you sit with one of your knees bent and place your camera on the other.
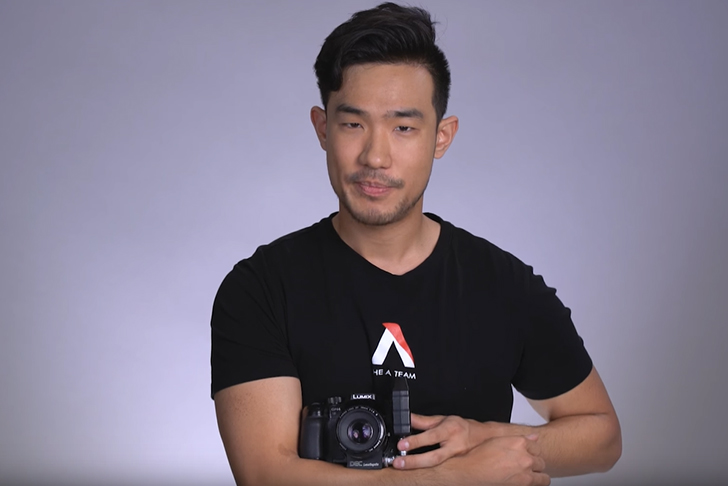
If your camera is quite large, try holding it against your chest. Now you can slowly move your camera in any direction you fancy.
Think of the camera in your hands as if it were a cup of hot liquid. Let your body apply the same physics to the object you are holding. Now it’s shaking much less. Magic!
Take advantage of everything you have on or around yourself. Creativity is the key!
Lean against the wall to transform yourself into a tripod (the two other legs are yours!). It’s another great way to stabilize still and panoramic shots.
…anything. Place your elbows on the nearest horizontal surface and hold your camera firmly – your image will be as stable as if you were using a tripod.
If you have a two-meter-long string or thin rope with you, tie it to your camera from both sides. Step inside of the string to create tension. Now your camera has four points of contact, which will help make movement smoother. Look how it’s done at 00:46 in this video:
You might not carry extra-long shoelaces around with you at all times, but most likely you do own a camera strap. Put it around your neck and pull it forward, together with your camera. Again, the tension thus created will help you stabilize your image.
An old gift bag with a thick base can easily replace an expensive stabilizer rig. Just cut a hole that will allow you to point the lens out of the bag. Now hold the bag by the handle. Every movement of your camera will look smooth and natural.
Take advantage of your tripod while filming in motion, not just for still shots.
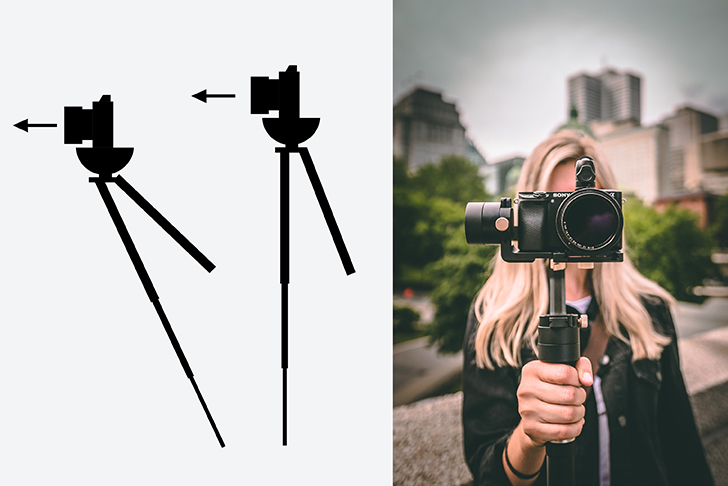
Attach your camera to the tripod. Hold I by the legs and carry it around. Your camera will record smoother movement than it would without the tripod.
A smooth up-and-down pan can be done with a tripod, too. Stabilize two of the legs against the ground and hold the third one. Practice changing the angle between the tripod and the ground. Eventually, your shots will look better.

Enjoy our special discount for all blog readers!
Promocode: SUPERBLOG
Download Movavi Video Editor Plus with 10% discount for Windows
Download Movavi Video Editor Plus with 10% discount for Mac
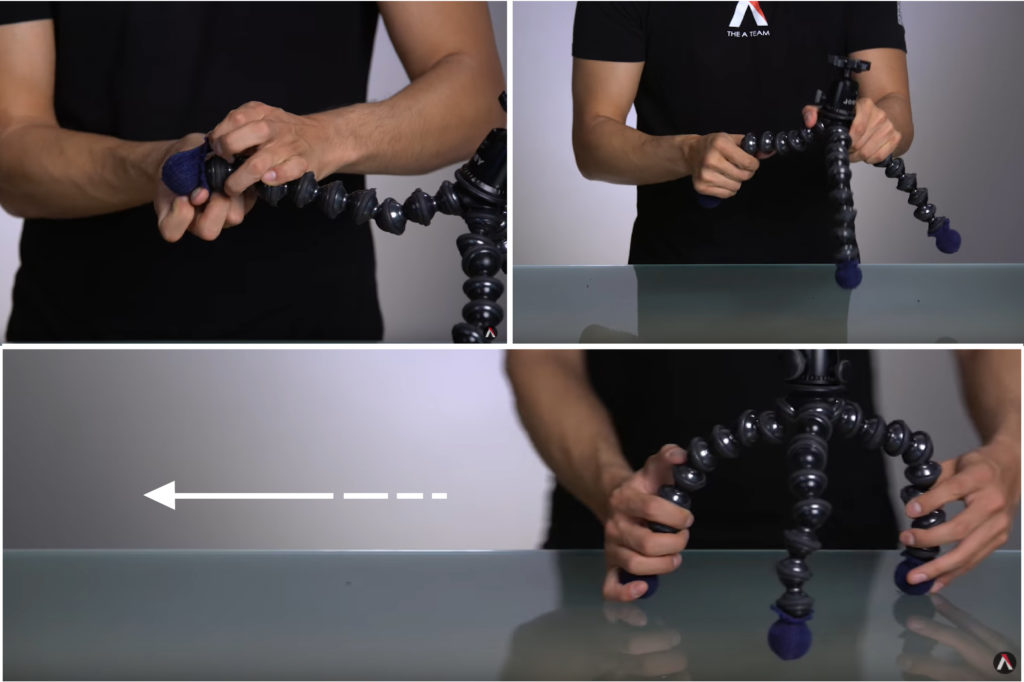
Get some small-sized socks and put them on the legs of your tripod. Now you can take advantage of slippery surfaces – the tripod can be easily moved around as if it were on a track.

Bear in your mind that the more professional you want to get, the more likely you will have to invest in professional equipment. Try borrowing some stabilizing systems from rental shops to see the difference and make up your mind about what you want. But that doesn’t mean you have to stop having fun with all the hacks listed above.