


We use cookies to improve the services we offer you. By continuing to browse this site, you consent to keep them in accordance with our Privacy Policy.
×We use cookies to improve the services we offer you. By continuing to browse this site, you consent to keep them in accordance with our Privacy Policy.
× 4,731
4,731
 4 min
4 min

Hey there!
We are picking up again with the series of articles related to our exciting 15.4 releases. This time, we‘re going to look at the new possibilities offered by the ability to adjust the intensity of the effects in Movavi Video Editor Plus.
This new feature is a real game-changer! Not only are our effects now more flexible, but each one is now a source of inspiration, the intensity slider offering surprising new opportunities for creative video editing. To show you what we mean, here’s a short skateboarding clip that we’ll give a 90’s twist, combining retro colorization with the kind of artistic effects typical for this type of video.
Here is the raw footage.
Stock footage provided by Videvo, downloaded from https://www.videvo.net
Before applying any effects, we’ll crop this 16:9 video to 4:3 format for the sake of authenticity using the Crop tool: all 90’s footage would be shot with this classic film camera aspect ratio.
With the crop done, we browsed the Filters tab on the left side of the workspace to find the effects that would work well in this case and homed in on four of them.
Enjoy our special discount for all blog readers!
Promocode: SUPERBLOG
Download Movavi Video Editor Plus with 10% discount for Windows
Download Movavi Video Editor Plus with 10% discount for Mac
The old footage is likely to be a bit noisy – which is not necessarily a drawback. Our eyes are used to this visual noise, just as they are used to a classic film running at a 25 FPS frame rate, and these imperfections make esthetic sense when applied correctly. So, let’s apply a noise effect and set an appropriate intensity level.
1. In the Filters tab, go to the Noise subtab.
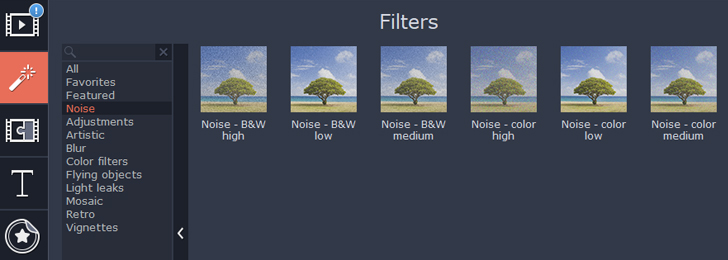
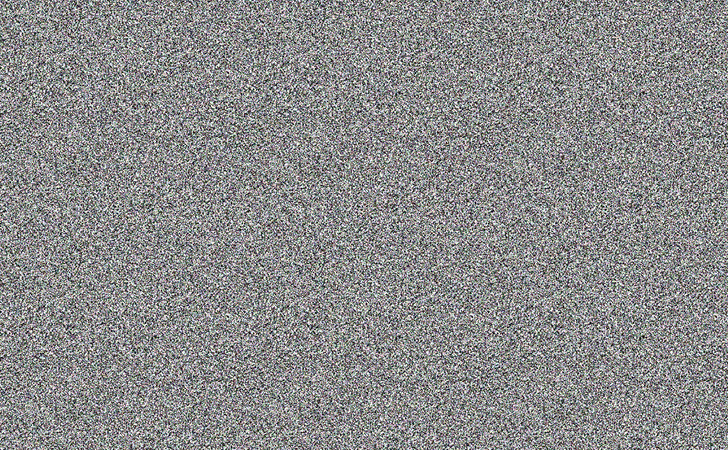
As you can see, there are six presets for color and black-and-white noise adjustment. This comes from a time when these effects weren’t adjustable. Now you can add a low-noise preset and tweak it up to the highest possible level, at which point your skateboarding video will turn into a broken TV transmission.
2. Apply the preset by dragging it onto the clip. Click on the star that appears on the clip to access the Applied Effects tab.
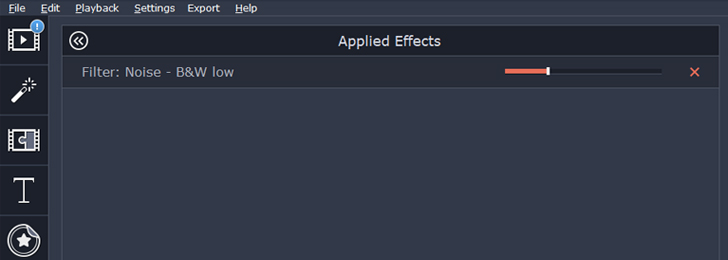
3. The slider you see on the right controls the intensity of the effect. Play around with it to see what happens!
For our video, we need only a slight amount of noise to create the film effect we’re looking for.

Using the same process, apply other filters to your clip to create the effect you want.
For our video, we applied the Fish Eye – magnify filter from the Adjustments subtab: this is a classic skateboarding video effect. Then we added the Old movie – scratches filter from the Retro subtab, as well as an old-school reddish tint with the Selective color – red filter from the Artistic subtab.
Here is the before and after of our clip:
You can judge for yourself if we succeeded in bringing out the retro look. With the adjustable intensity of the effects, the possibilities are so vast that we’re sure there are ways to make this even more authentic. Try it out for yourself – we look forward to reading your feedback in the comments!
Yours as always,
Movavi Team.

