We use cookies to improve the services we offer you. By continuing to browse this site, you consent to keep them in accordance with our Privacy Policy.
×We use cookies to improve the services we offer you. By continuing to browse this site, you consent to keep them in accordance with our Privacy Policy.
× 21,554
 9 min
9 min
The choice of shots is an important element in any video. Through the different types of shots, you give meaning to your film. In any large production (think of movies, advertisements, or music videos), every shot has been thought about. This is generally done by the director. For each scene they have to answer the following questions:
The way in which scenes are shot decides not only what the viewer will see but also how they will feel. Indeed, you can actually convey moods by carefully using specific types of shots.
To help you get acquainted with the different types of shots we prepared a list of the various shots you can shoot your scenes with. We have broken the types of shots down into three segments: camera angles, framing techniques, and camera movements.
The camera angle is all about the location from which you point the camera at your subject(s), and as such the perspective from which the viewer sees the scene. Through different camera angles, you can make the viewer perceive the scene the way you intended.
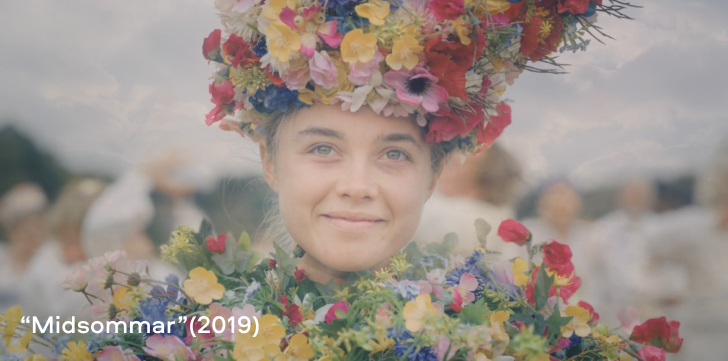
This is a very popular type of camera angle. The camera is placed at eye level to shoot the scene exactly the way you would see it with your own eyes if you were to be there. It is used to make a scene look realistic, or to make the viewer feel like they are right there with the actors.
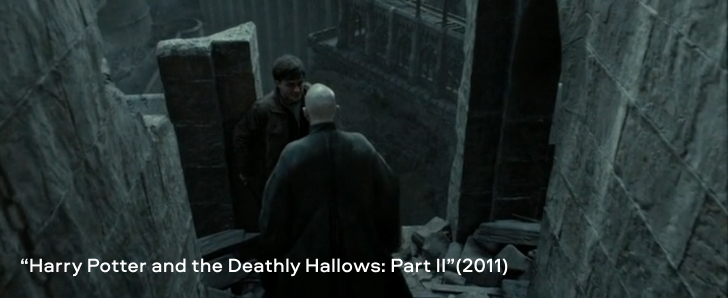
In this type of shot, the camera looks down on the character from above. It’s an ideal way to make a character look vulnerable or to show a contrast of power. Remember that scene in Harry Potter, right before Harry and Voldemort jumped off a cliff? No other type of shot could have made Harry look more vulnerable. The viewer instantly knows that at that moment Voldemort has the upper hand. If you have never watched Harry Potter and do not know who is who, you can probably still guess who the vulnerable character is in this scene thanks to this camera angle.
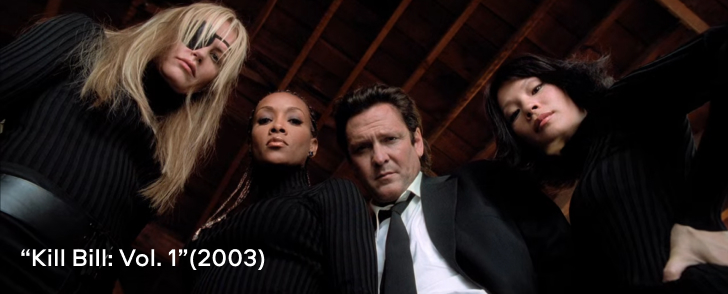
This is the opposite of the high angle shot. The camera is placed at a low height and pointed upward. It is generally used to show that the character is powerful, intimidating, or in a position of dominance.
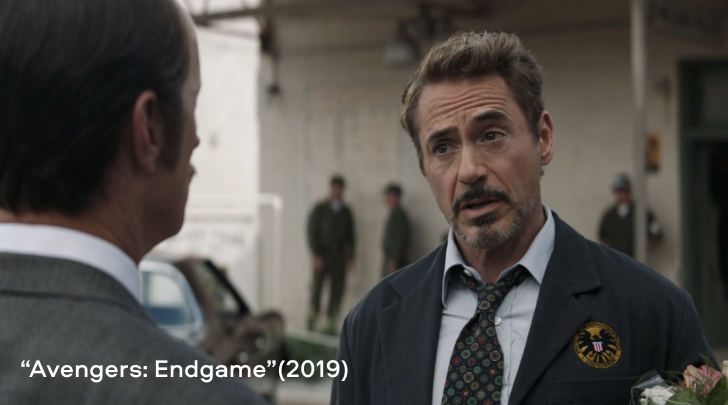
Imagine you have to shoot a scene with back-and-forth communication between two characters. One of the most popular camera angles for such a scene is the over-the-shoulder shot, where the viewer looks over the shoulder of the actor (as the name suggests) toward the person they are having the conversation with. You are totally free to go back and forth between the two characters throughout their conversation.
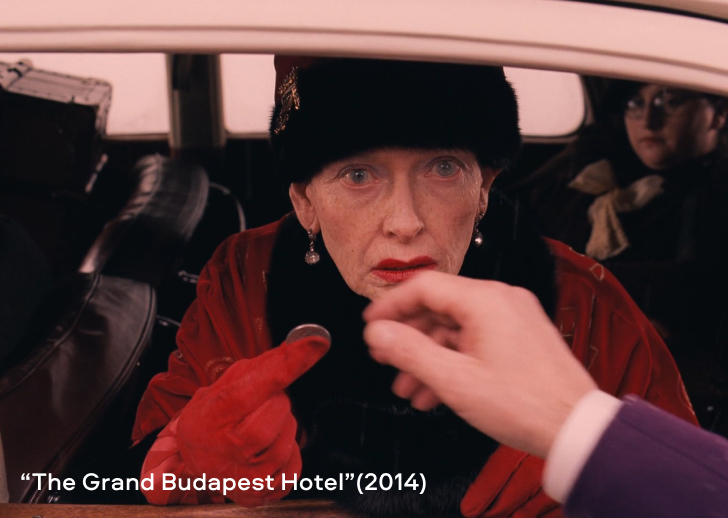
This angle is used to show a subjective perspective. The viewer sees the scene through the eyes of the character, making them feel like they are the character themselves. Before transitioning to point of view, make sure to include a shot of the character that you are about to transition into. That way that the viewer knows whose eyes they are looking through. Similarly, after the end of a point of view scene, also include a shot of the character. Otherwise, it won’t be clear that the following scenes are no longer in point of view.
While camera angles are about the positioning of the camera, framing techniques are all about the way you position your characters within the frame. When executed properly, you can really immerse the viewer into your film and provide a powerful viewing experience.
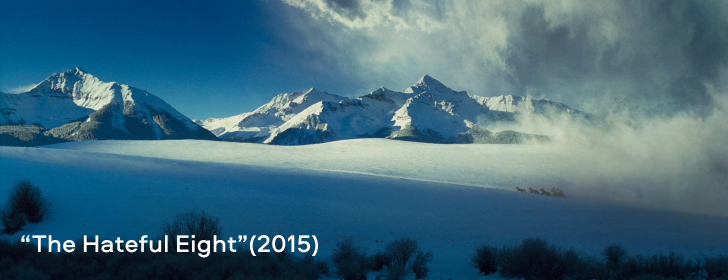
This is a framing technique that gives the viewer a wide overview of the set. You see the location, the actors, and their surroundings. But you don’t see emotions, or what the characters are doing in specific. This type of shot is often used at the beginning of scenes, to introduce to the viewer the location of the scene.
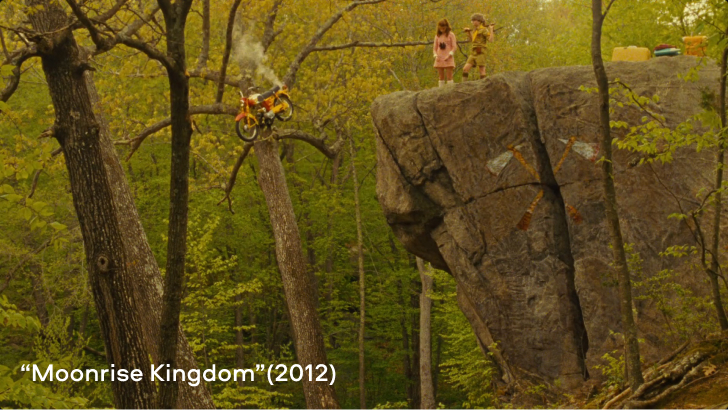
In long shots, more is visible. The characters almost fill the frame top-to-bottom, while at the same time the scenery still dominates the scene.
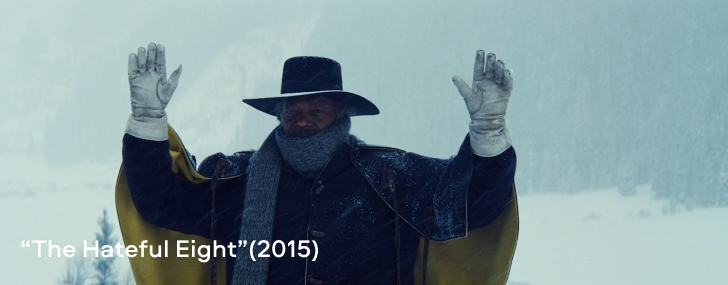
The medium shot is a great technique to introduce a subject and convey emotions. Medium shots are shot from the actor’s waist up to their head. The viewer realizes that this scene is more about the actor and not so much about the surroundings.
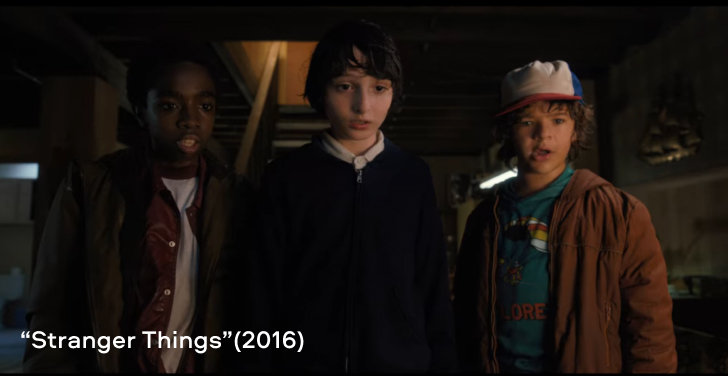
These terms indicate the number of people you have in your shot. When you want to have three people in your shot, you use a three-shot. These types of shots are generally used in combination with a medium shot.
Note that shots with a single person in the frame are not called one-shots. The term one-shot is instead used to indicate continuous footage that has no cuts.
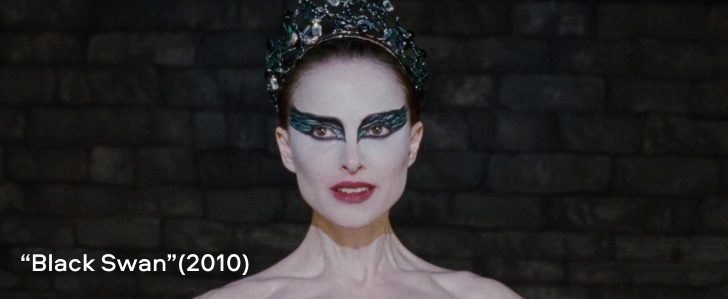
The close-up is perhaps the most widely known framing technique. With a close up you make sure that only the actor’s head is in the frame. It is okay to go a little wider and include, for example, part of the neck. The main purpose is to make the viewer feel more involved with the subject.
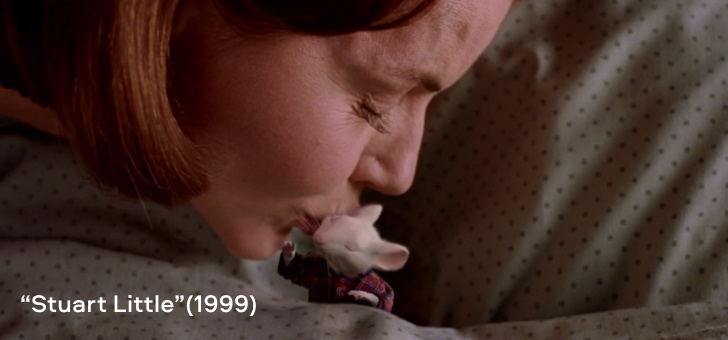
Extreme close-up is used to convey strong emotions or indicates that things are about to get serious. Since it is a perspective that you don’t encounter much in real life, extreme close-up shots can leave a real impact.
Now let’s talk about how you move the camera while shooting a scene. Sure, you can set your camera on a tripod and create a video without moving it at all. But, unless it’s an interview or a vlog, the chances are your clip will come out pretty bland. Moreover, in some cases, it’s nearly impossible to capture everything effectively without movement. Take for example a scene where your character is running across a street. Unless you use a very long shot, there is no way you will get the whole run in your frame without moving your camera.
Here are the most common types of camera movements.
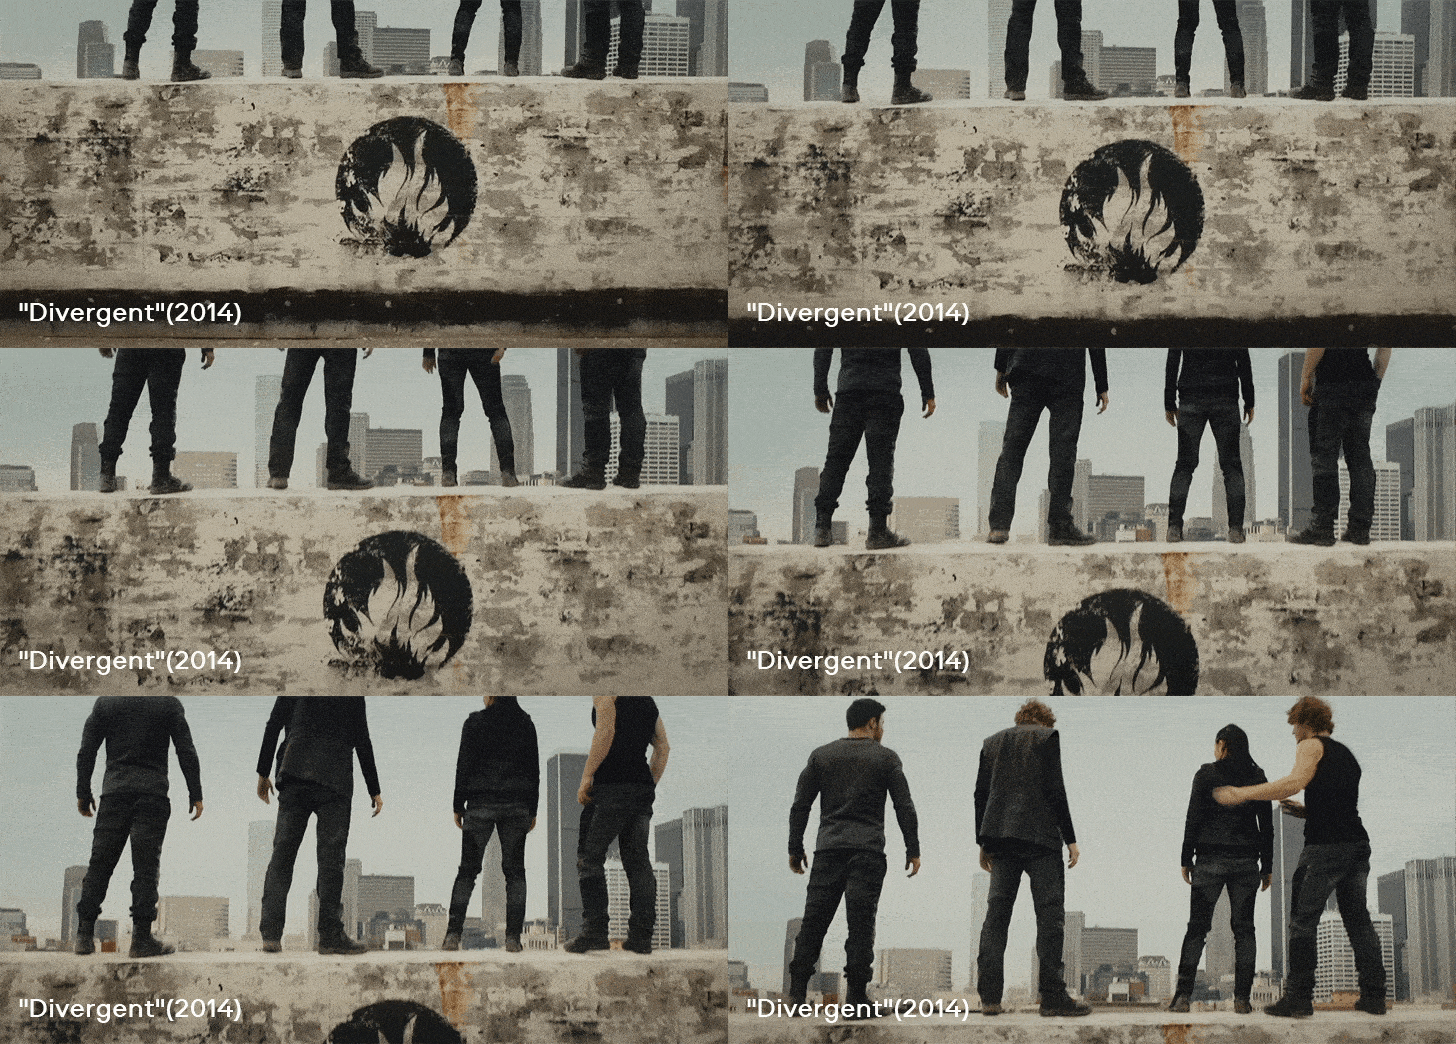
This is a classic movement where the camera moves on a vertical axis (up or down) while staying in one position. It’s often used to follow a character’s movement or even reveal information by slowly bringing something into the frame.
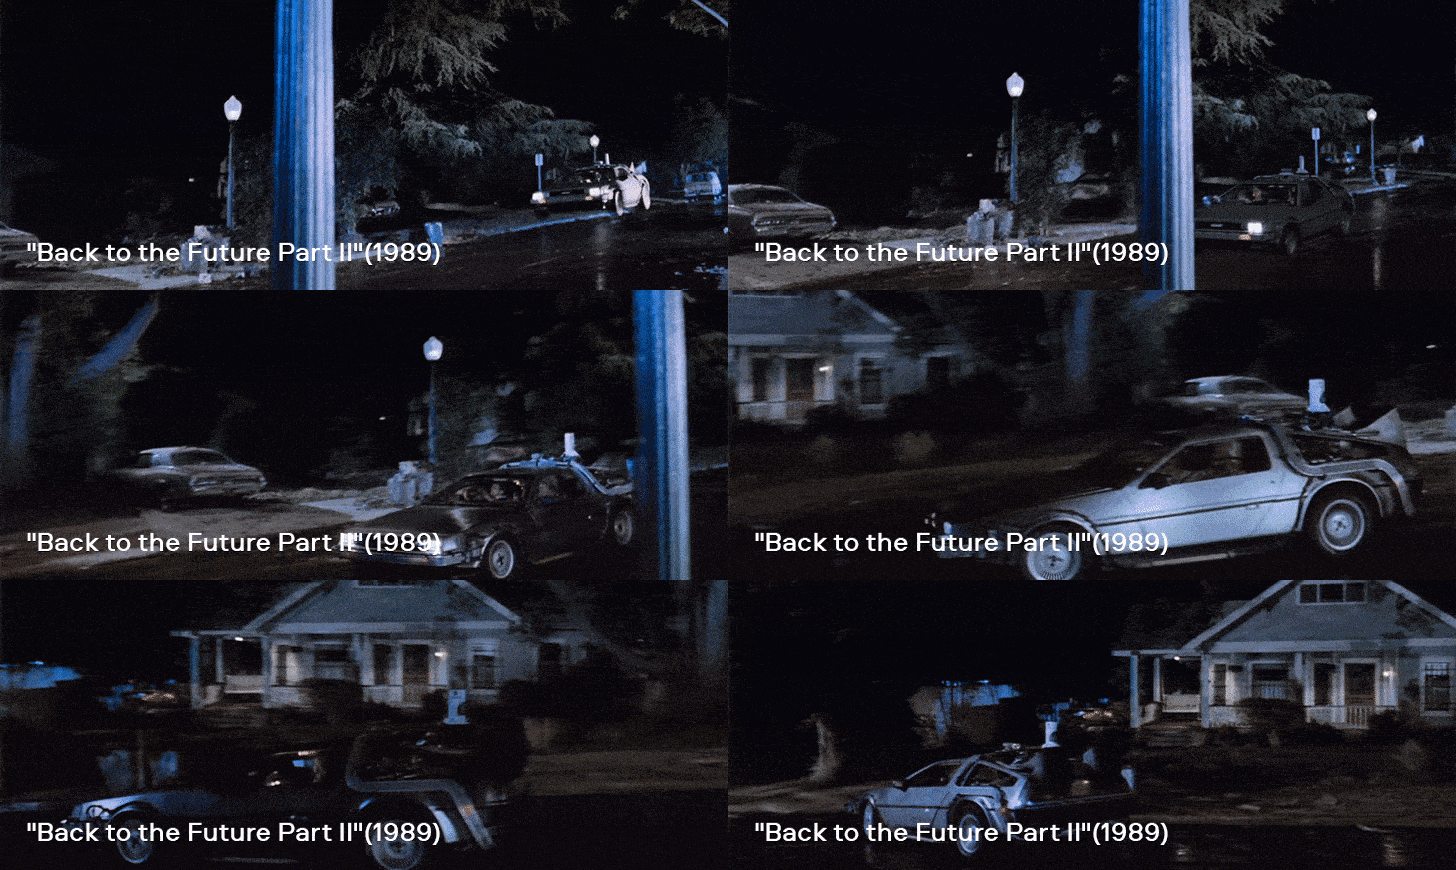
This type of movement is similar to the tilt shot except that the camera pivots on a horizontal axis (left or right).
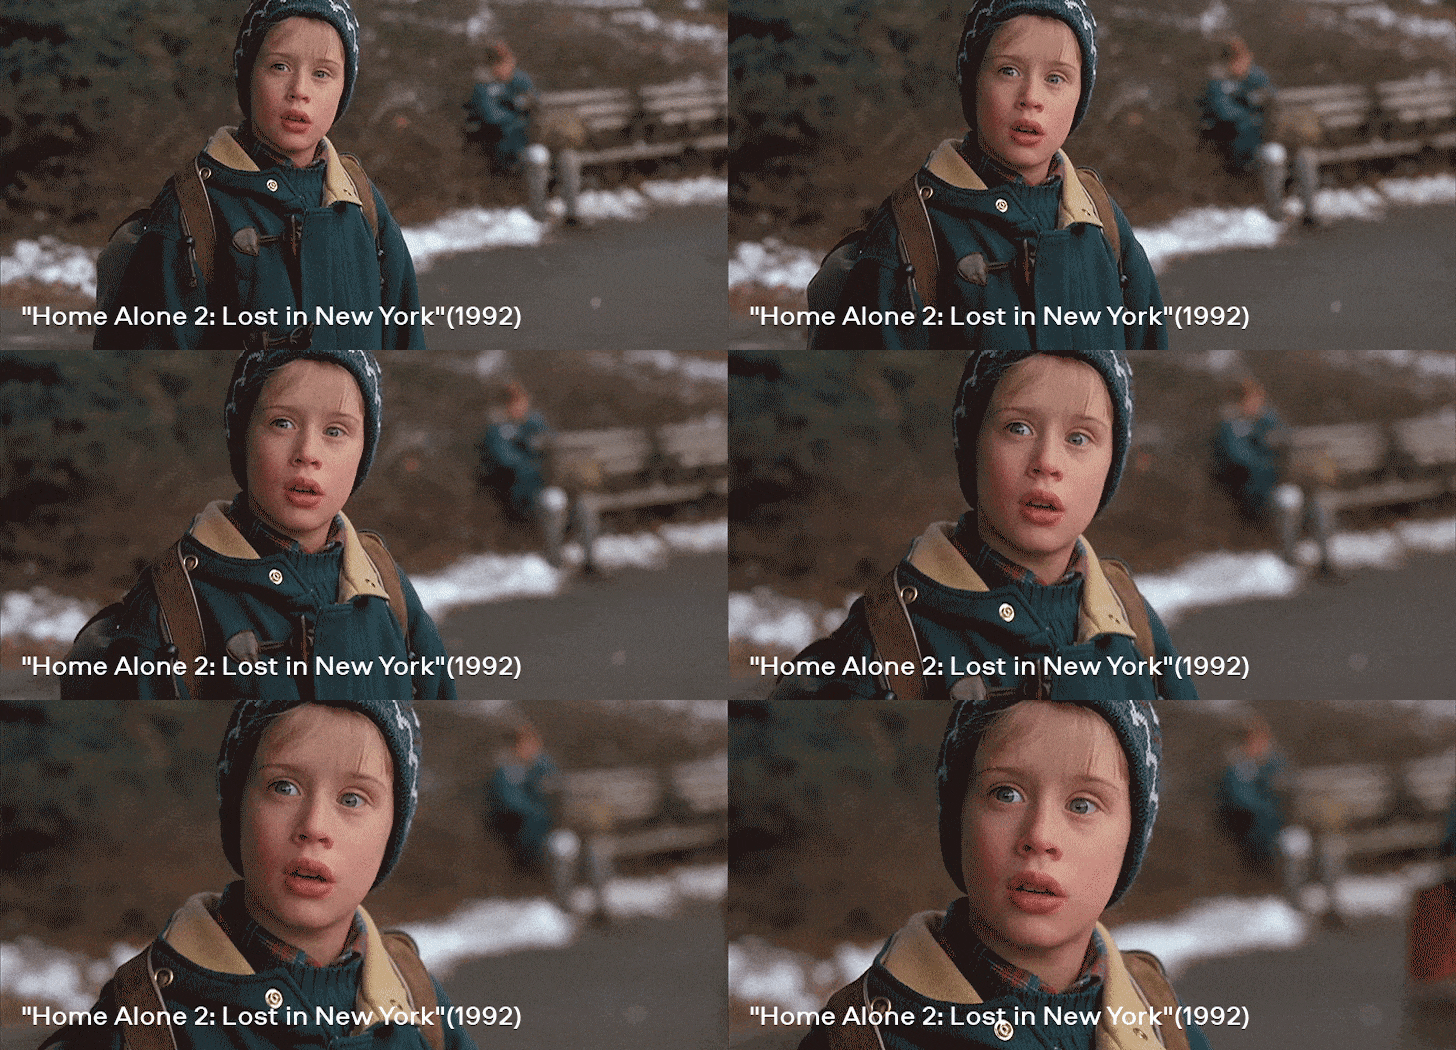
Zooming is used to focus on a very specific part of the frame. You go from a long shot to a close-up or the opposite. You give the viewer the feeling that they are getting closer to or further from the subject, while the perspective remains unchanged. Initially, this technique was used to add drama, but because it became too mainstream, now it is mostly used to achieve comedic effect.
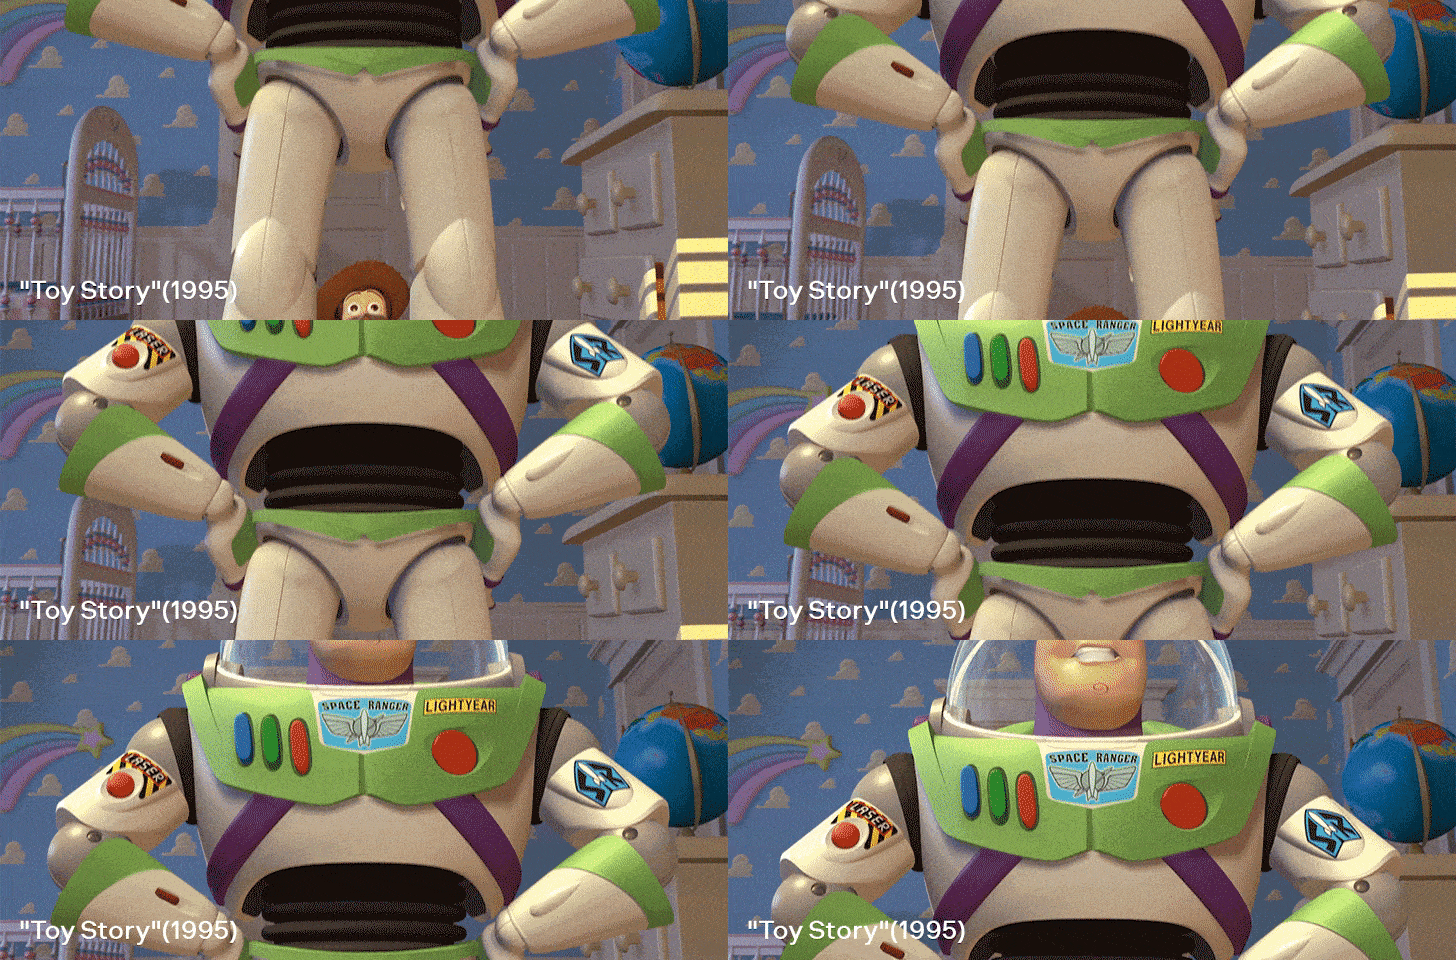
With a pedestal movement, the camera itself physically moves up or down along a vertical line. To achieve this, the camera is placed on a fixed location, such as a tripod, or a crane. Then, the camera is moved in the desired direction. It’s a great way to shoot something very tall. You can for example move up slowly to emphasize the tallness or greatness of a character.
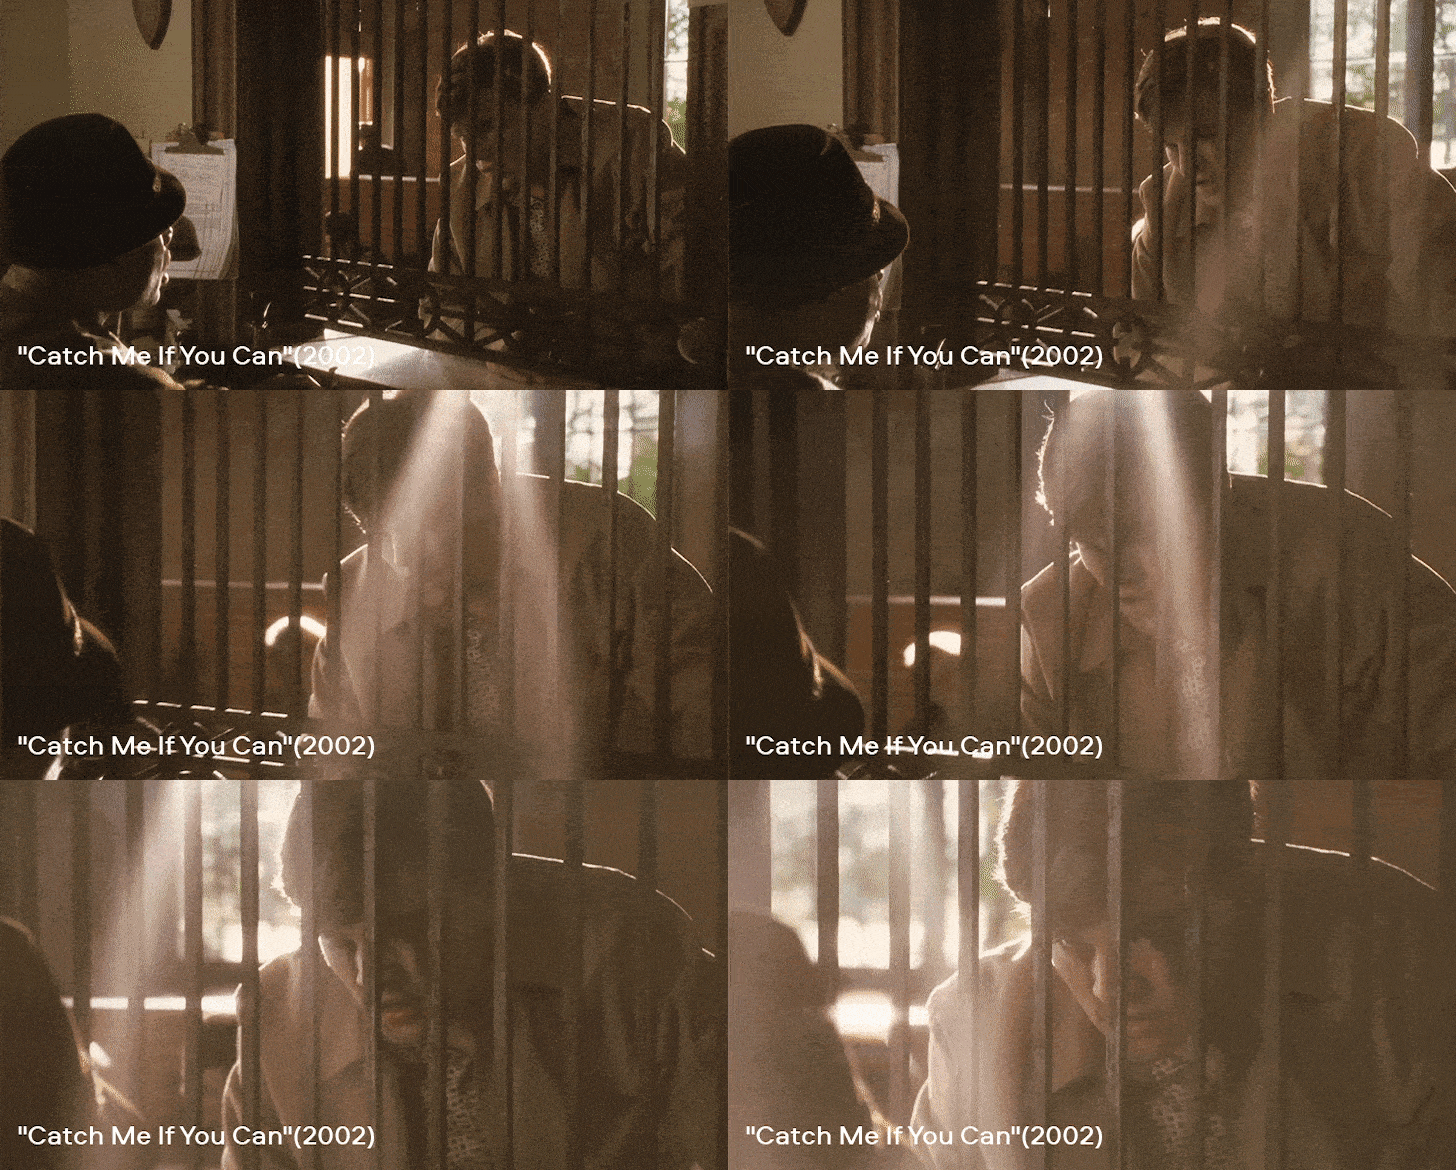
In a dolly shot the camera is moved away from or brought closer toward the subject. It’s common practice to use rails or a small vehicle to perform the movement.
![]()
Like with the dolly movement, this movement is also commonly performed using rails or a small vehicle. The camera moves in a straight line across the side of the subject. This movement is most often used to follow a moving subject (for example a walking person) across a certain distance.
Get shooting!
And there you go! Now that you have learned the different types of camera angles, framing techniques, and camera movements, it is time to go out and put your freshly gained knowledge to practice. Good luck!