


We use cookies to improve the services we offer you. By continuing to browse this site, you consent to keep them in accordance with our Privacy Policy.
×We use cookies to improve the services we offer you. By continuing to browse this site, you consent to keep them in accordance with our Privacy Policy.
×
 4,552
4,552
 4 min
4 min
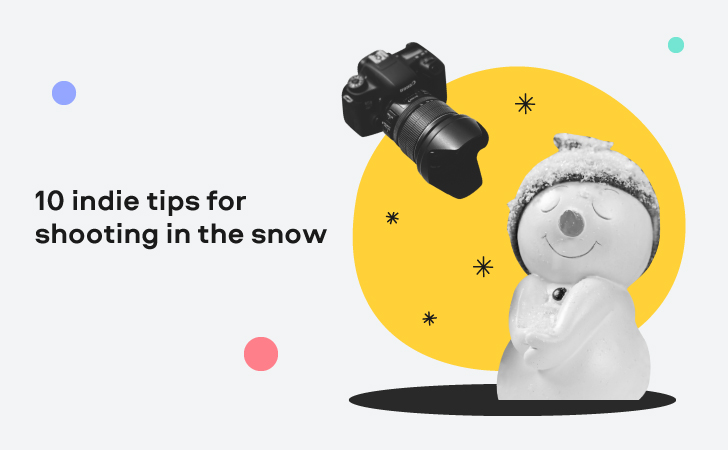
Snowy winter creates beautiful scenery but shooting anything under these conditions can be challenging. Intense glares from the sun’s reflection onto the snow, or a white balance that is off, are only some of the things you will need to problem-solve.
To make the most out of your snowy footage, keep these quick tips in mind, and be ready to capture the essence of winter!
In cold weather, you would want to keep your batteries warm to extend their running time. Keep them insulated inside your jacket before placing them in the camera, and also carry extra ones with you.
To avoid any discomfort, ensure personal safety – especially when you’re shooting for a prolonged time. Wear just enough layers and a snow jacket with many pockets. Wear rugged waterproof boots to avoid slipping and keep any water from going inside. Remember to hydrate throughout.
Protect your equipment in water-resistant bags and keep them somewhere safe and accessible. If your equipment is not weather-sealed, you can use an umbrella. Carry microfiber lens cloths with you for wiping any water on your lens and equipment. You can also use a Ziploc type bag, or a rain cover, to protect your gear from cold winds, snow, or rain.
Use neutral density (ND) filters you can screw onto your lens to avoid over-exposure. This way you can keep your aperture wide. Using a matte box is another more expensive option for videographers, where you can slide your filters directly in front of the lens.
An indie trick you can use (works like a charm) is taping an ND filter with residue-free black masking tape onto your camera. Last, check your camera for any digital filters. Some high-end cameras like Sony’s Alpha a7 mirrorless series, have internal ND filters built into their software.
If you don’t have an ND filter use exposure compensation as explained in the next section.
Enjoy our special discount for all blog readers!
Promocode: SUPERBLOG
Download Movavi Video Editor Plus with 10% discount for Windows
Download Movavi Video Editor Plus with 10% discount for Mac
With your camera’s normal settings you may end up with an underexposed photo and snow that looks grayish. So instead of just relying on the result you see on your LCD screen, read your image’s histogram instead. To fix this issue, you will need to either dial-up your exposure compensation, or use spot metering (especially for portraits).
If your camera allows it, shoot in RAW mode. This way you will be more flexible to edit any imperfections later. File sizes are larger under this mode, so make sure you have an extra memory card with you.
By engaging these modes you only need to set one thing and the camera takes care of the rest. Use slow shutter speeds to capture what looks like a blizzard, or aperture priority to set your aperture while your camera adjusts ISO and shutter speed.
Extreme brightness can make it difficult to look at what’s on your LCD. To solve this you can place a cardboard hood over your screen. A hood over your lens will also guard it against flares caused by light hitting it from the sides – and protect it from any storming snowflakes! For a quick fix, you can also create a lens hood (or a DIY lens flag) out of black cardboard and place it around your lens to create sunshade.
Humidity can build up inside your camera when you go from a dry environment (outdoors) to a warmer one. To protect your gear from humidity build-up, use ziplock bags and a camera case. When indoors, let the bag rest and adjust to the new temperature before removing your gear. If your case gets wet, make sure to remove everything and let it dry.
In an area heavily covered with snow, you need to search a bit more to find spots with natural contrast. Once you do, your images will “pop” more. Also, detect your shooting spots before walking through them, unless footsteps in the snow is the look you’re going for! Shooting during the golden hour will naturally create more contrast in your images due to the warmer hues in the sky. Overall, if the light is too bright, be patient, as it tends to change fast – you can skip a location and return to it later.
Provided you can handle icy-cold weather (and these hacks) well, nothing can stop you from freezing the moment exactly as is!

